
Hello there. I trust you are well.
In my previous post HERE, I discussed how you can use the Microsoft PowerPoint as your tool for video recording. What if the recorded video needs some editing? Perhaps you want to trim the beginning part of the video and some part at the end, if you don’t know that PowerPoint has that capability to trim your video, you will be looking for the third-party software, I’m sure, just to accomplish your task.
I was struggling to find a free video editing software that I can use to edit, specifically trim, my video recording and to my surprise, you can do it using one of the Microsoft Office software; the PowerPoint.
Today, I am going to show you how you can trim your video using Microsoft PowerPoint.
It’s pretty straight forward.
Let’s get started.
- Assuming your PowerPoint is now open, drag a sample video on one of your slides.
- Select the video and a “Video Tools” menu ribbon tab will appear on the toolbar ribbon, and it has two tabs: Format and Playback.
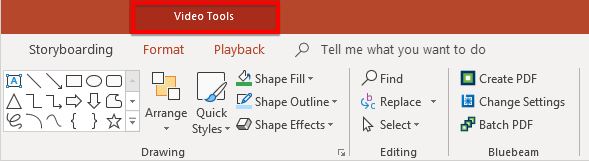
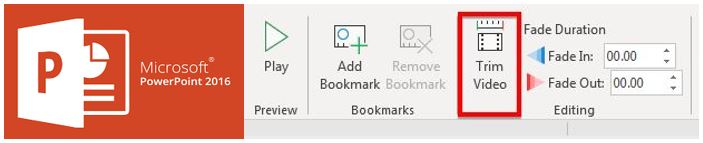
- Select “Playback” tab, then “Trim Video” from the options provided.

- Next, you can play along the video to determine where you want to trim the video. You can fine-tune it using the “left” and “right” button next to the “play” button. The other option is, if you know where you want to trim the video, you can type the time in the format of “MM:SS” from the “Start Time” box provided.
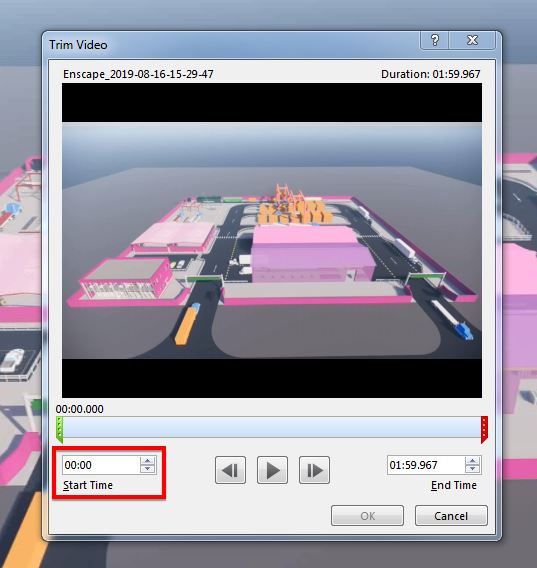
- Next, you can continue playing along the video to determine where you want to end the video if in case you want to trim the end portion of your video. You can fine-tune it using the “left” and “right” button next to the “play” button. The other option is, if you know the time where you want to end the video, you can type the time in the format of “MM:SS” from the “End Time” box provided.
- Click “OK” once you are happy.
Once you have completed those steps, it’s time for as to save our trimmed media file and to do that, please follow the steps provided below.
- Select the “File” menu.
- Next, select “Compress Media” and then choose an appropriate level of compression (Full HD, HD or Standard).
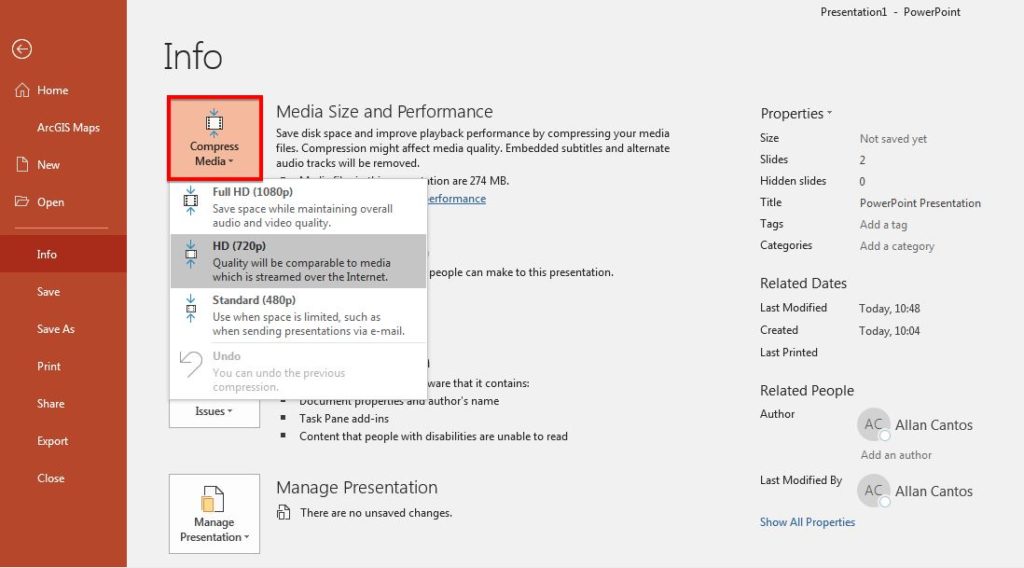
- After that, the “Compress Media dialogue box” opens and the compression process begins.
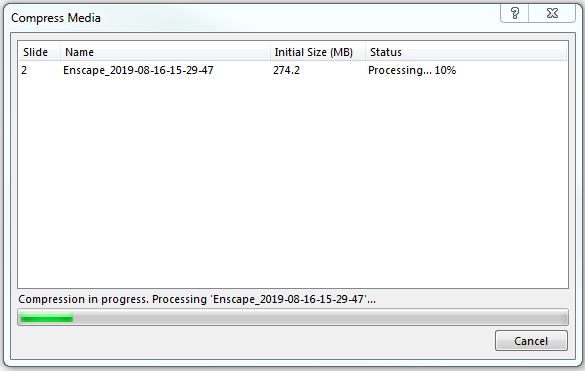
- When the compression is finished, you can close the compression media dialogue box.
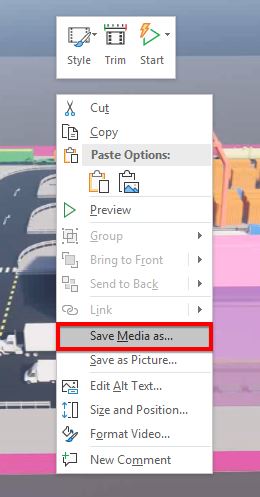
- Then go back to your slide where you’ve added the video. Right-click on the video and select “Save Media as…”
- Give it a new file name and save it to your desired location.
And that concludes this tutorial.
I hope you find this tutorial helpful. If you have any questions, please leave a comment below. Thanks for visiting my blog.
Have a great day!
Cheers.