Did you know that you can quickly do the math in Revit?
You don’t need to have a separate calculator to be able to figure out how much the difference or additional distance you would like an element to move.
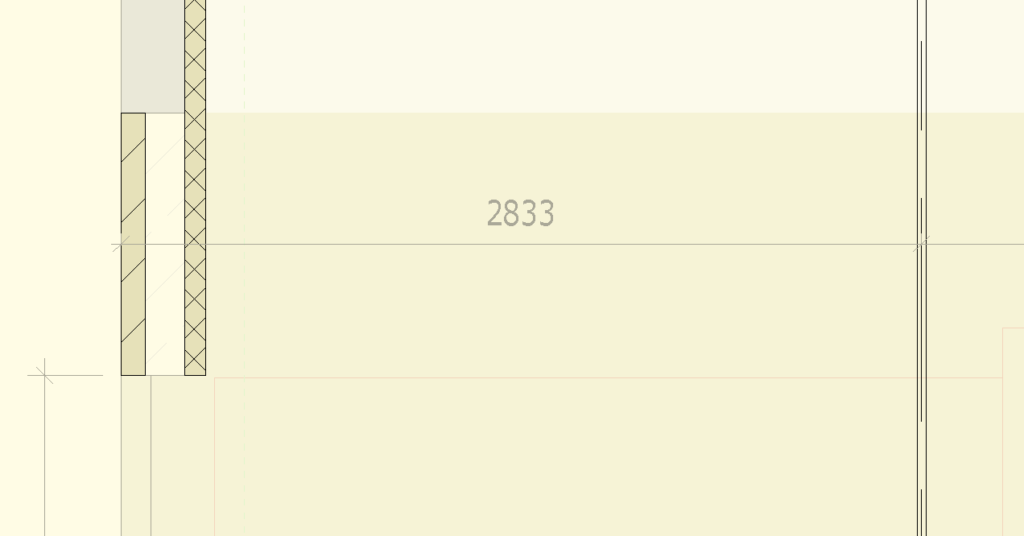
To demonstrate, suppose I have the dimension shown in Figure 1 below with a current dimension at 2833 mm and I would like to move the vertical lines in such a way that the final dimension should only be 2780 mm.

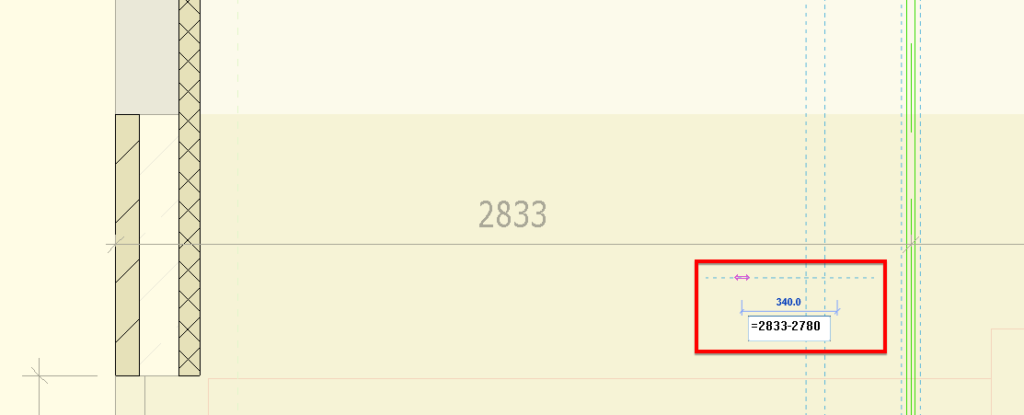
For some who do not know this trick, the tendency will be to get a calculator and calculate the difference. In this case, 2833 – 2780 = 53. It will be an additional step for the Revit user. If you can’t find a calculator, you’ll have to use your browser to do the math where in fact you can do it within Revit by simply selecting the lines and use ‘=’ (equal) sign followed by 2833-2780 as shown in Figure 2 below.

Basically, we have to select the elements first to be moved, which are the vertical lines, then hit the move command or use the default shortcut ‘MV’ from your keyboard, then enter =2833-2780.
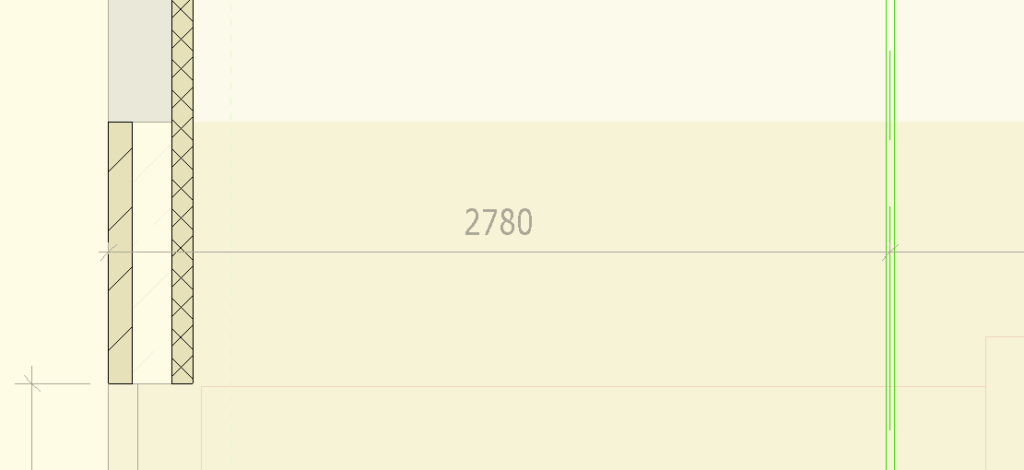
And the result is:

Do you know of any other tricks? Please share below and spread the knowledge.
I hope you’ll find it useful.
Have a great day.


