Hello everyone. I trust you are well and allow me to say thank you for visiting my website blog section in advance.
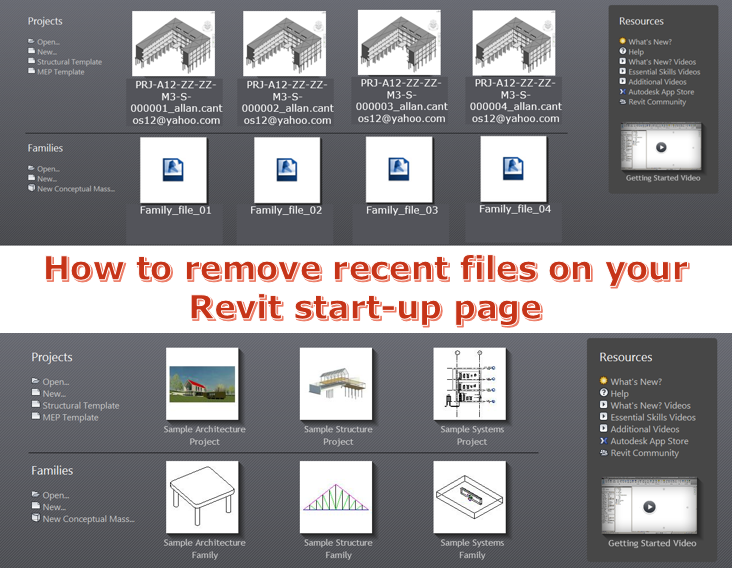
Today I’m gonna look at resetting my Revit startup page to default settings; by removing all recent files list.
I am sure most of you are aware of this, so I wrote this topic as my personal note on how to do this and for me to avoid searching at Google should I forget how to do this.
This method must be done especially if you will be running a presentation outside the company and you don’t want to show the projects you are working on.
Here is what you’ll see when you have recent files shown (I intentionally have overwritten the images and file names):

Now, here are the steps that we need to do:
First, locate the Revit.ini file which you can find here: C:Users\(Your Local User Name>AppData>Roaming>Autodesk>Revit>Autodesk Revit (choose whichever version you are using)>Revit.ini.

Open the Revit.ini file by double clicking or right click the Revit.ini file to open the file in text editor or Notepad.
Then scroll down until you find the word: [Recent File List]
Underneath that text, you will find a list of all the recent files that have recently been opened by Revit. Delete the text for those recent files. Make sure to leave the [Recent File List] line in the text file. See image below for a sample.

Save the file and open up Revit. You’ll see the welcome page sets to default one as if you’ve just newly installed the software.

WARNING: Make sure that the only text you delete in the Revit.ini file is those lines specifically mentioned above, otherwise, deleting other text from the Revit.ini file can cause mayhem on the Revit UI which potentially requires you to reinstall the software.
I welcome your comments, questions, corrections and additional information relating to this article. If you know a better way, please leave your comment, by all means, let me know.
Have a blessed day.
Cheers,
Allan Cantos, EngTech MICE
BSc. Civil Engineering / Principal Structural Technician

