How are you doing? I trust you are all well. Today I’ll be looking at documenting my process of comparing 2 architectural models to find out what are the changes from the previous version to the most current one.
Being in structural discipline, I will be after only with the changes in the structural placeholder for slabs and door openings for my walls from the architectural model.
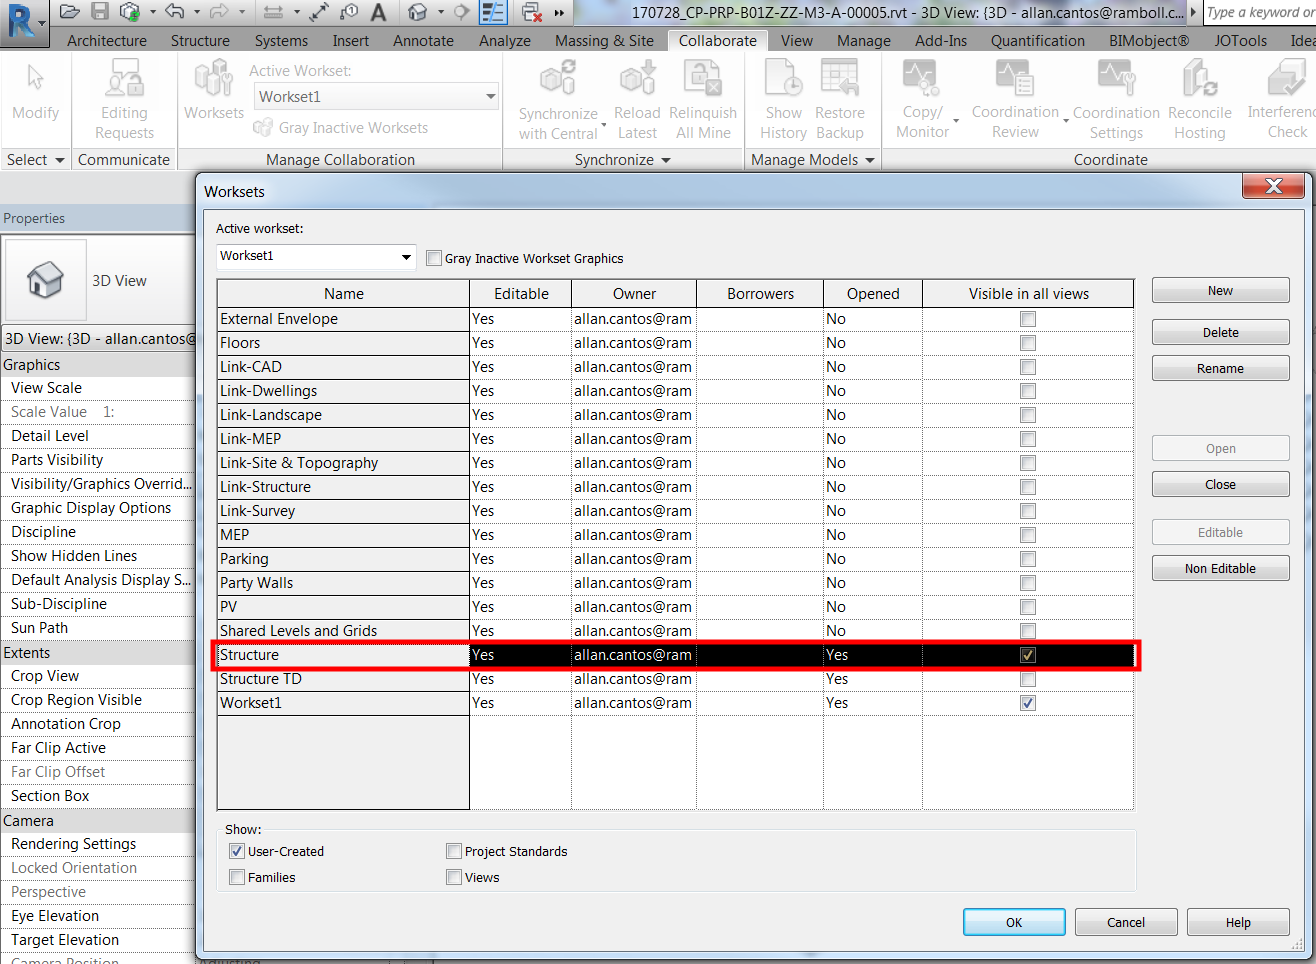
With that in mind, I begin with turning off the rest of the “Worksets” that for me is not relevant in this exercise. I have to do this step in both models.
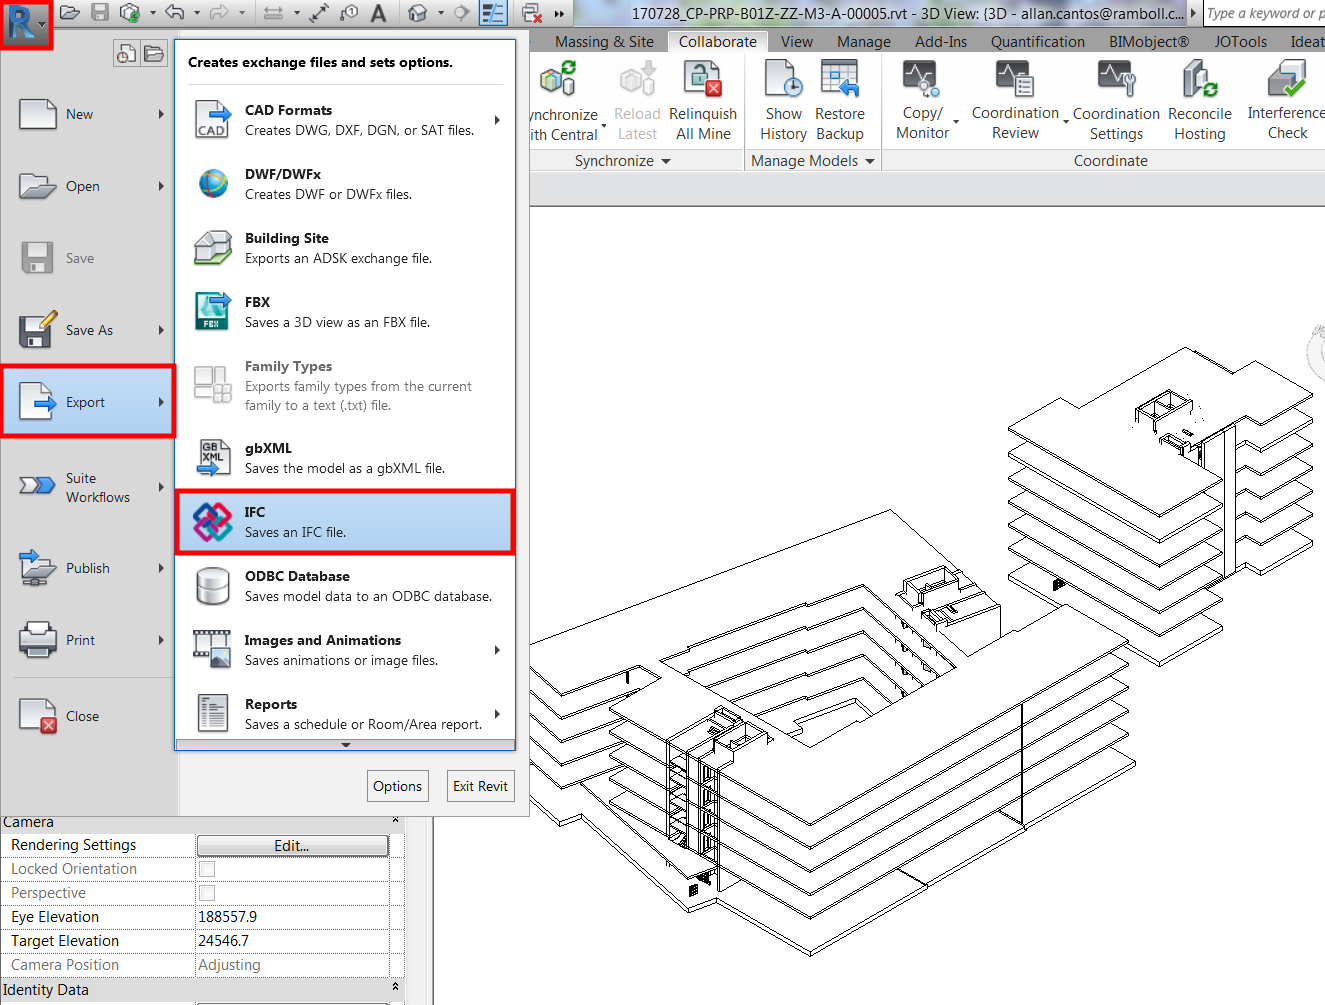
Once done, I’ll export an IFC file.
I can select both projects if I have them open in the same Revit window then modify the setup.
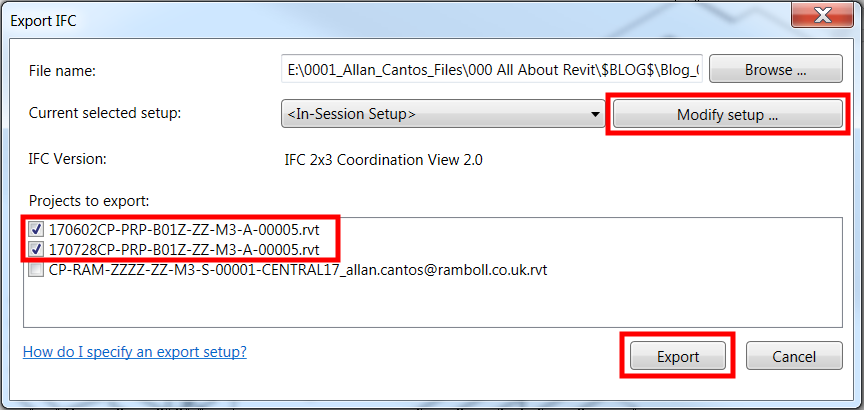
Below are my settings for the IFC export. I found my notes when I attended the inter-company BIM Coordination training last year and we were told to use these following settings:
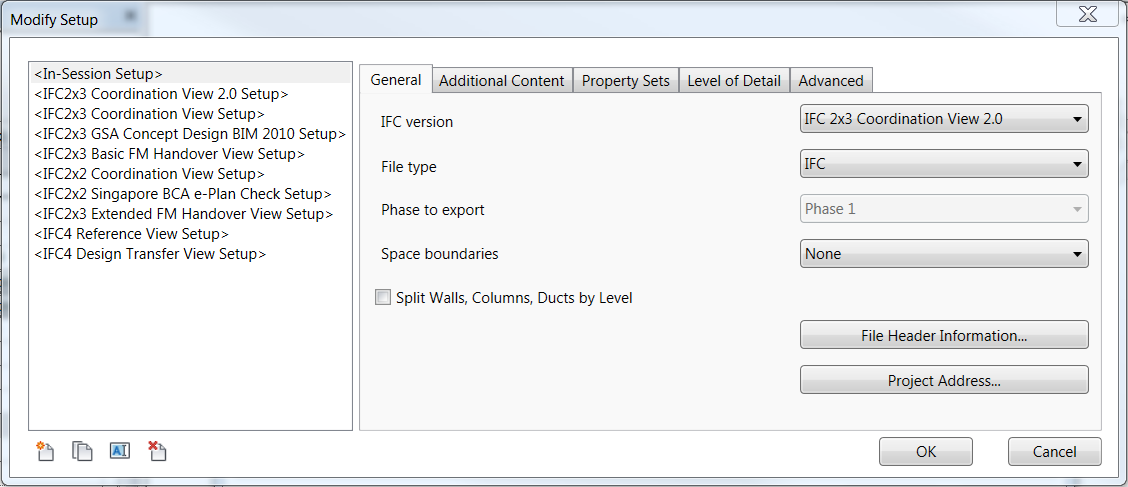
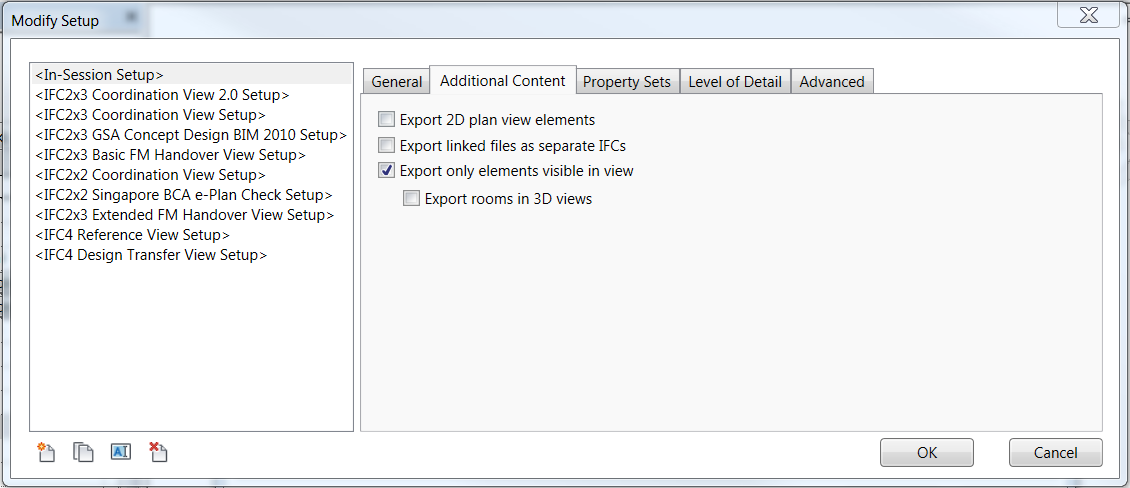

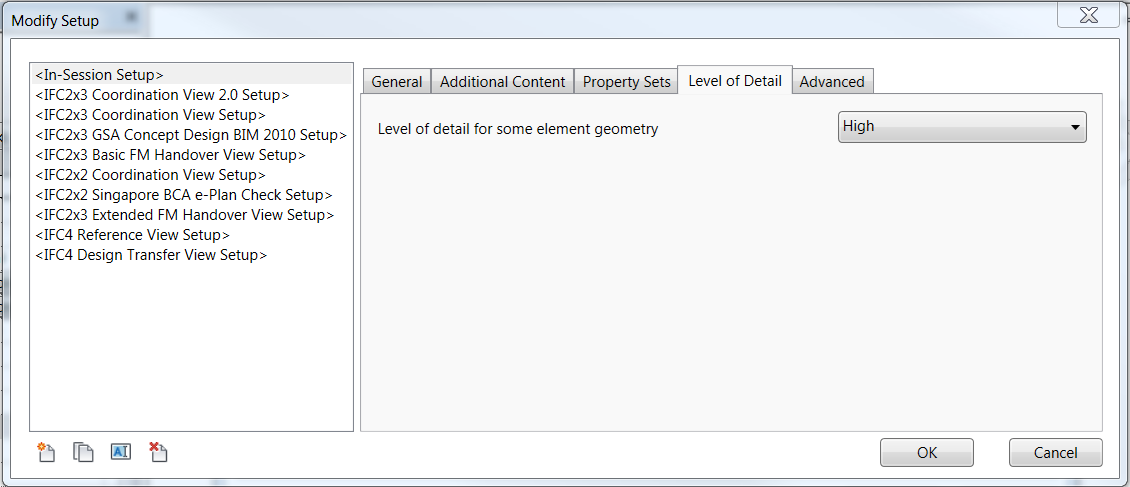
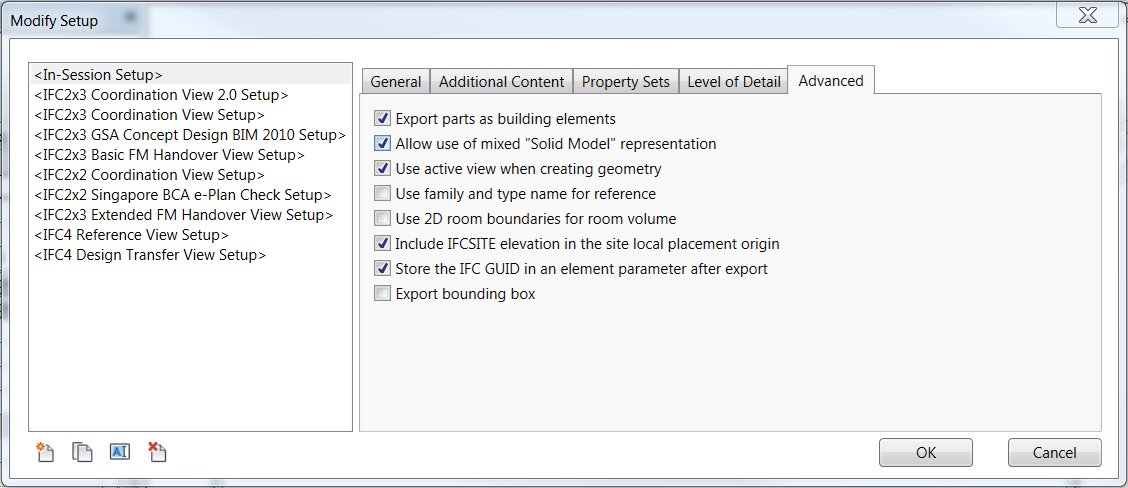
Once I’m happy with the settings, I click on “OK” to accept the changes.
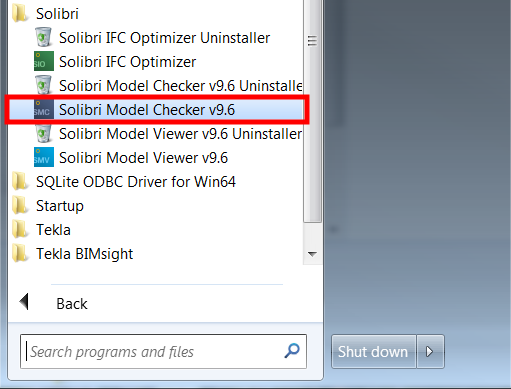
Next, open the “Solibri Model Checker” software. I’m using Version 9.6.
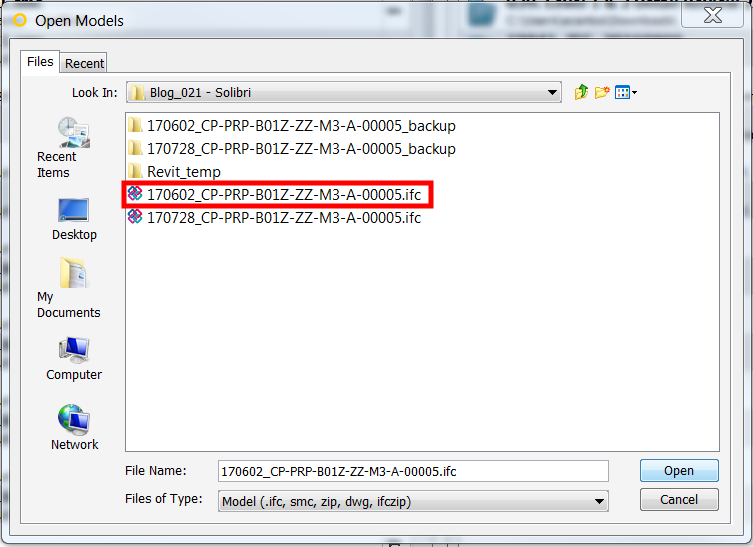
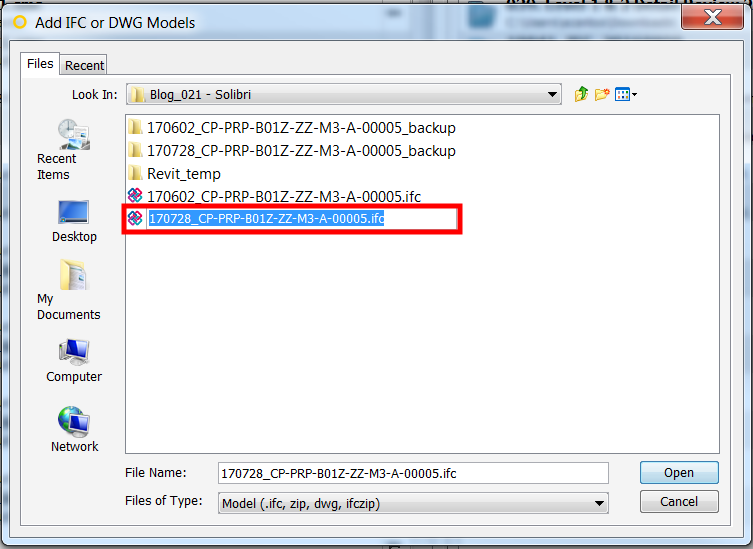
Next is to open the first IFC file.

In this case, open first the old model.
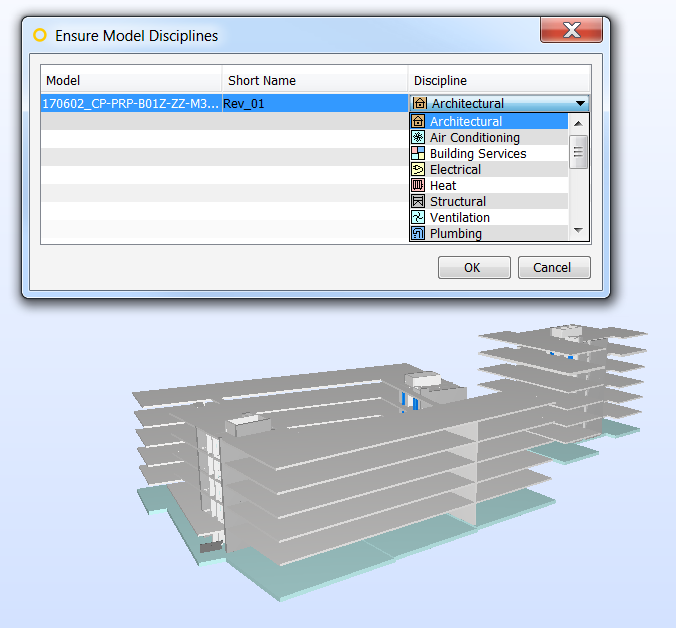
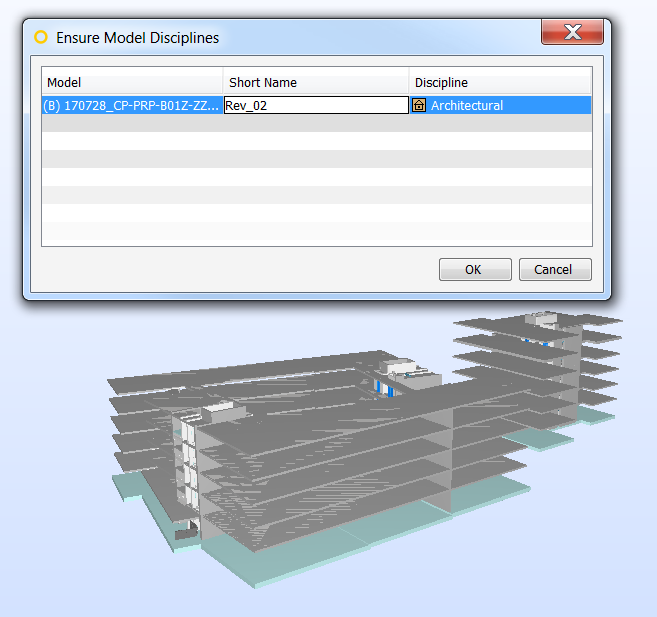
Provide “Short Name” information, let say this is “Rev_01” model and under “Architectural” discipline.
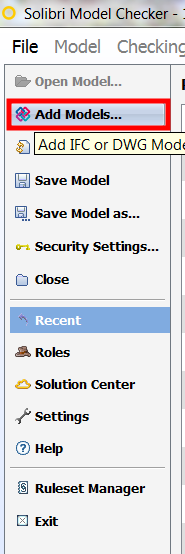
Next, I’ll add a new model.
Select the 2nd IFC file which will now be your latest architectural model.
Again provide “Short Name”. I’ll call it “Rev_02” and also under “Architectural” discipline.
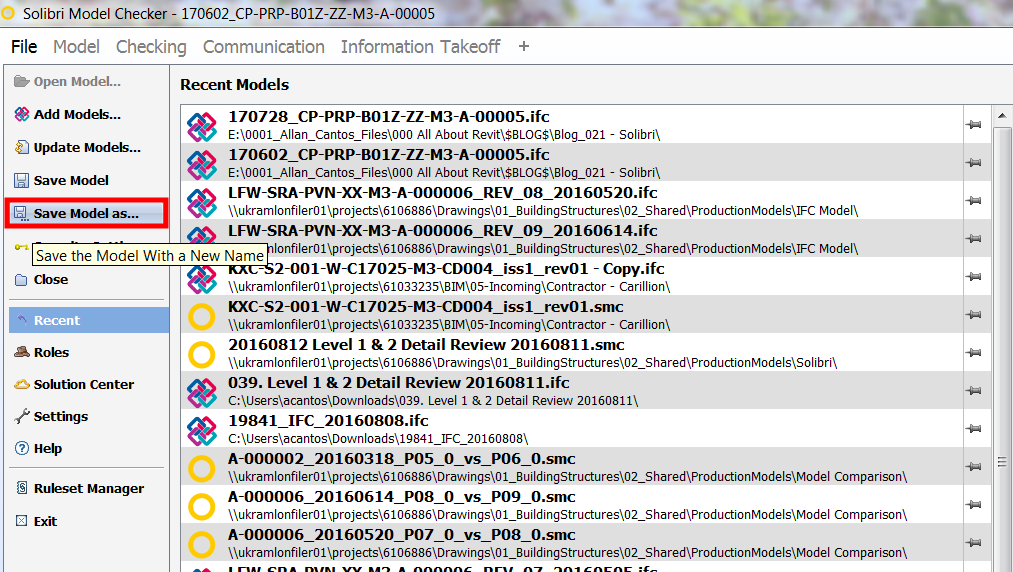
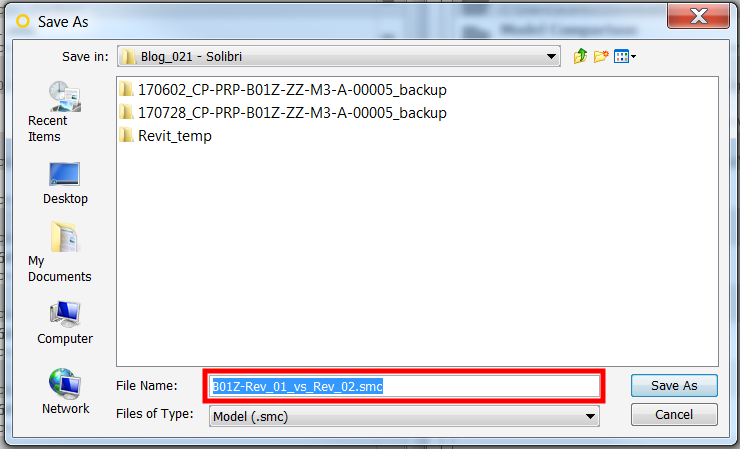
Don’t forget to save the Solibri file to a new file name.
I’ll call this Solibri file “B01Z-Rev_01_vs_Rev_02”.
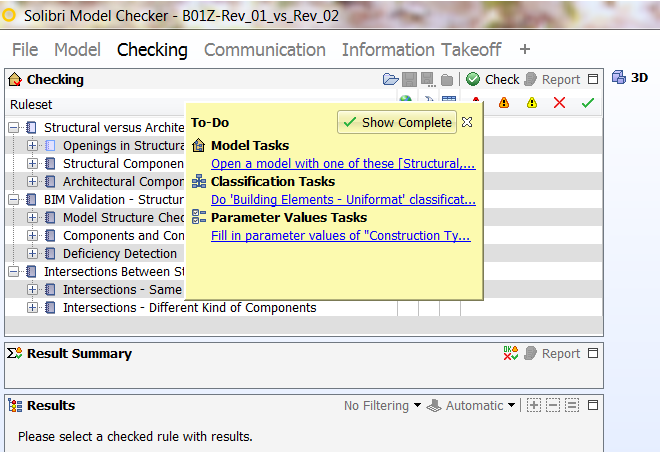
Here is what you’ll see under “Model” tab.

Go to “Checking” tab and there is a “To-Do” note that I need to complete. I’ll ignore it and close the note by pressing the “x” button on the upper right-hand corner.
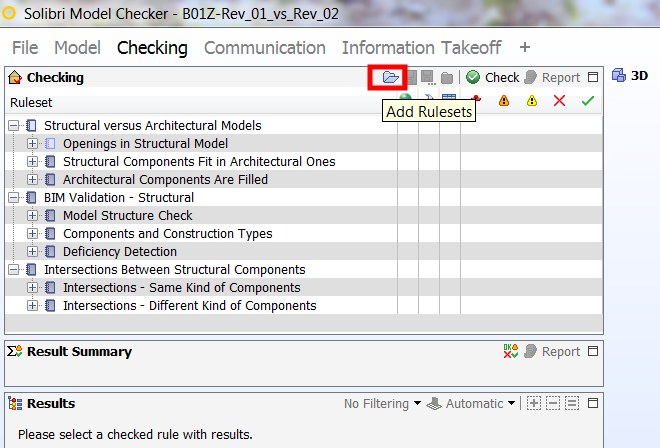
Since I am after comparing two architectural model and I do not have it on the list of “Ruleset”, I’ll add one by pressing the folder icon as shown below.
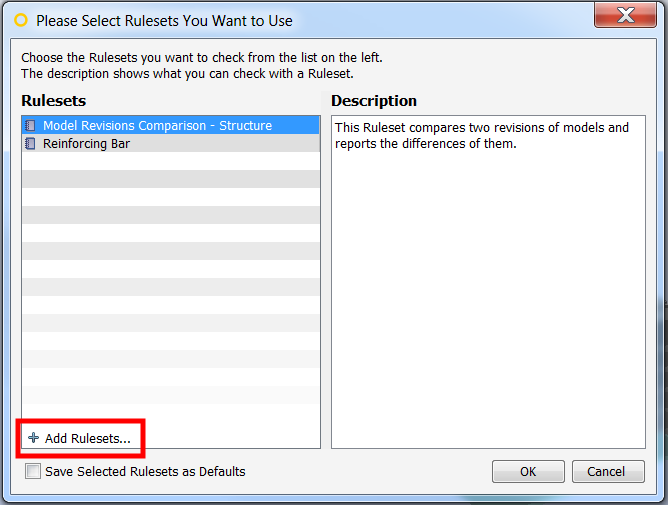
The “Ruleset” is not available in the list, I have to click on “+ Add Rulesets”.
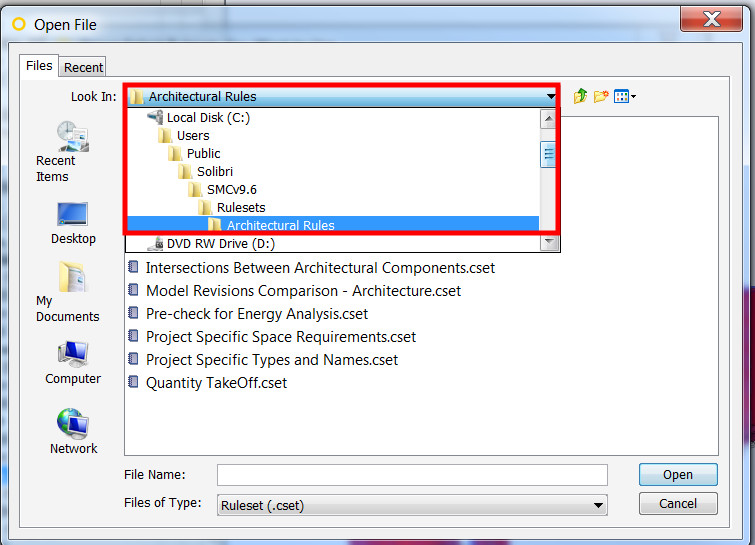
It should automatically bring me to this folder where I can select “Model Revisions Comparison – Architectural”.
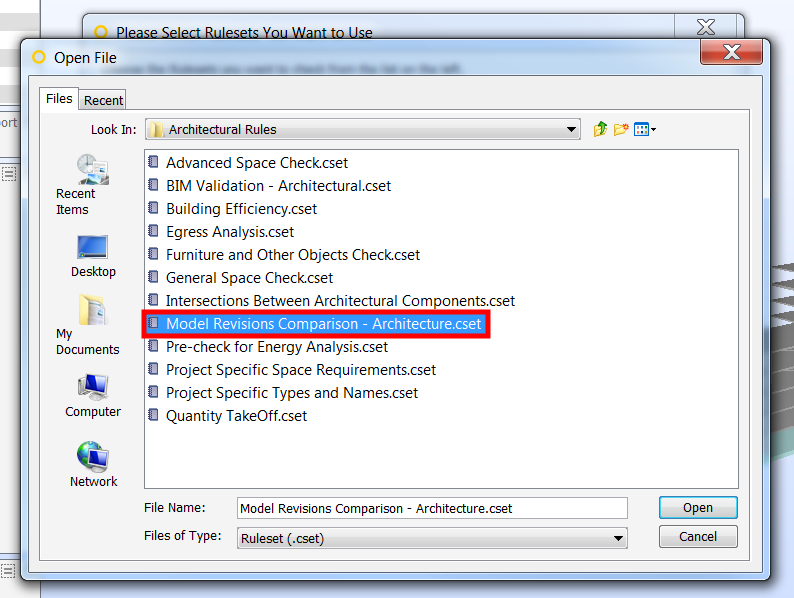
Here is where the folder is located in case you get lost.
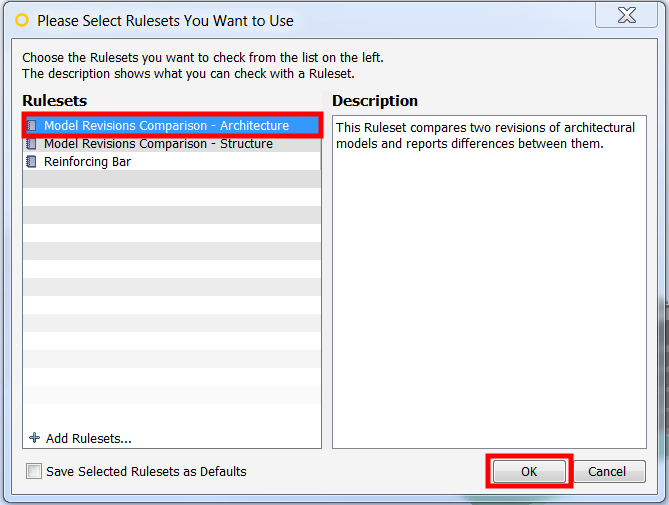
It will now be available on the list of “Rulesets”. Select that and click “OK”.
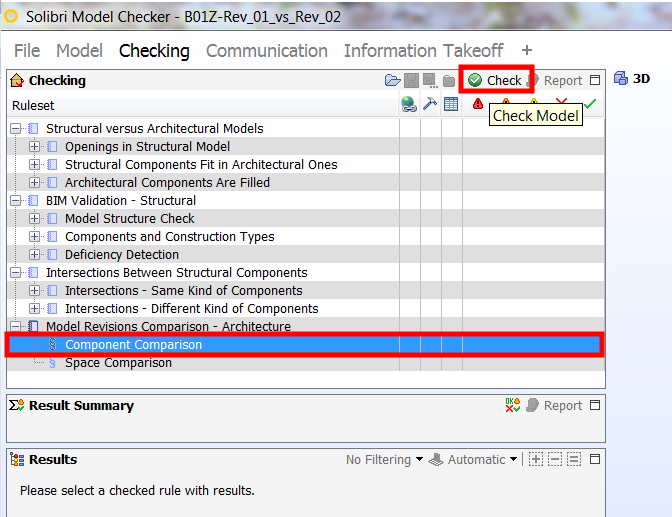
Next, I’ll disable checking the rest of the “Rulesets”. You can also delete them one by one if you want to get rid of them.

This leaves me only “Component Comparison” to check. Now click on the “Check” icon as shown.
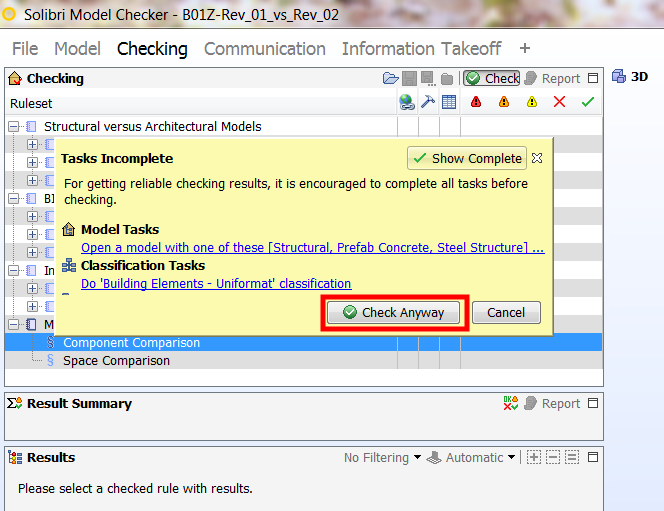
Again I’ll see this yellow note listing down the task that I need to complete. Just click on “Check Anyway” button to continue.
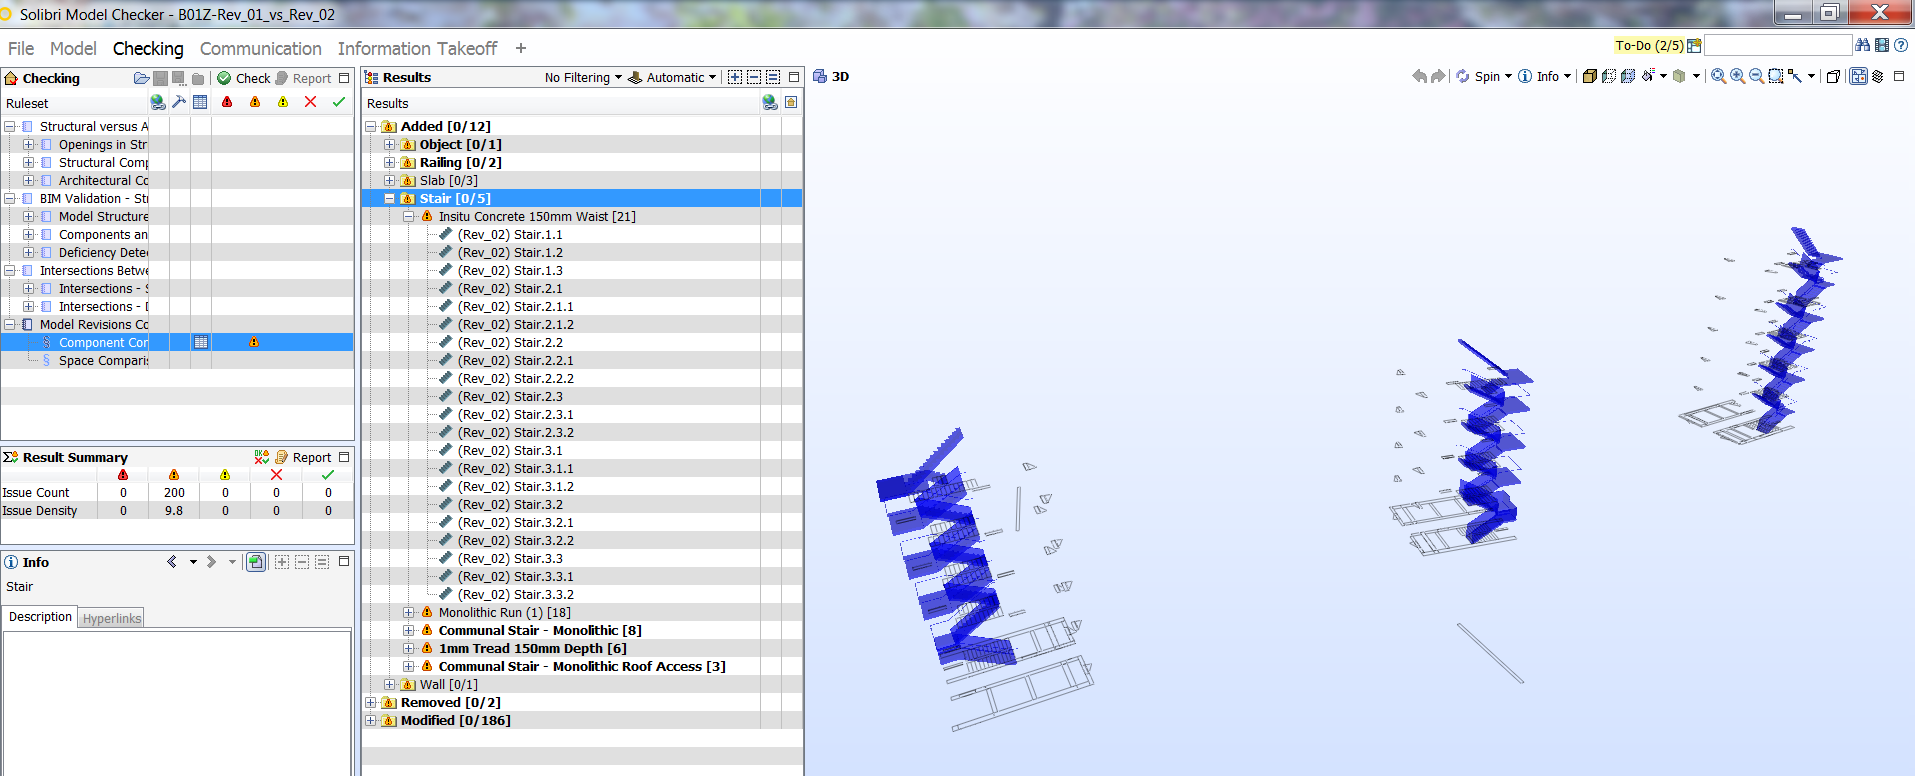
And in just a matter of minutes, I’ll have the results.
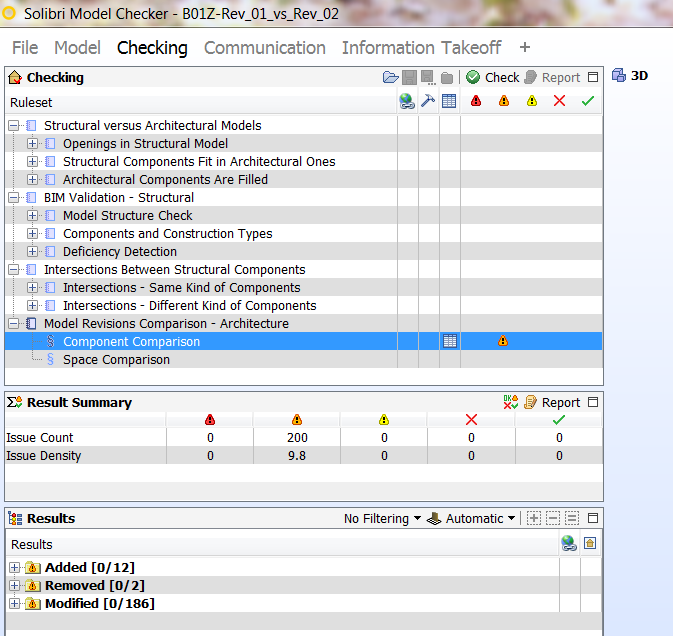
There are no issues with critical severity.

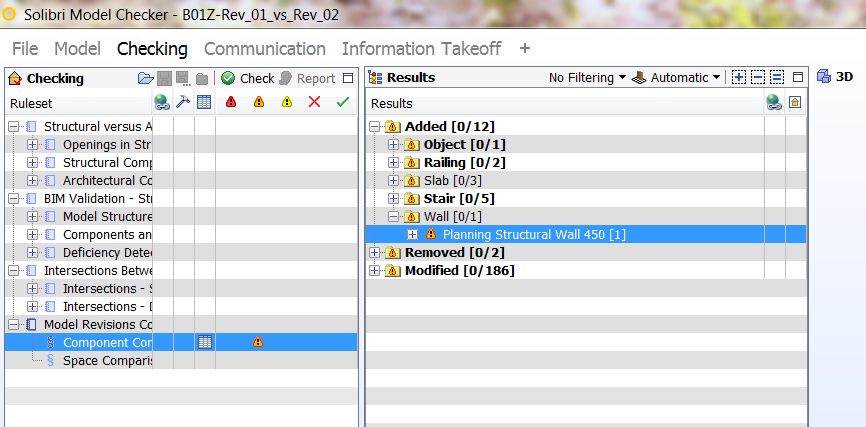
I have 200 issues with moderate severity.

I also got nothing for low severity issues.

Let me dig down with those additional members. As the report shows, I have additional slabs.
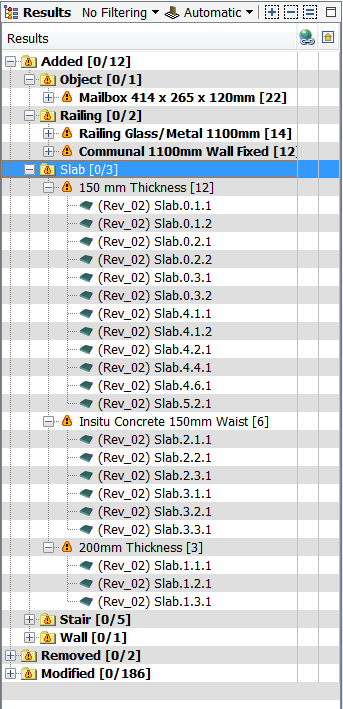
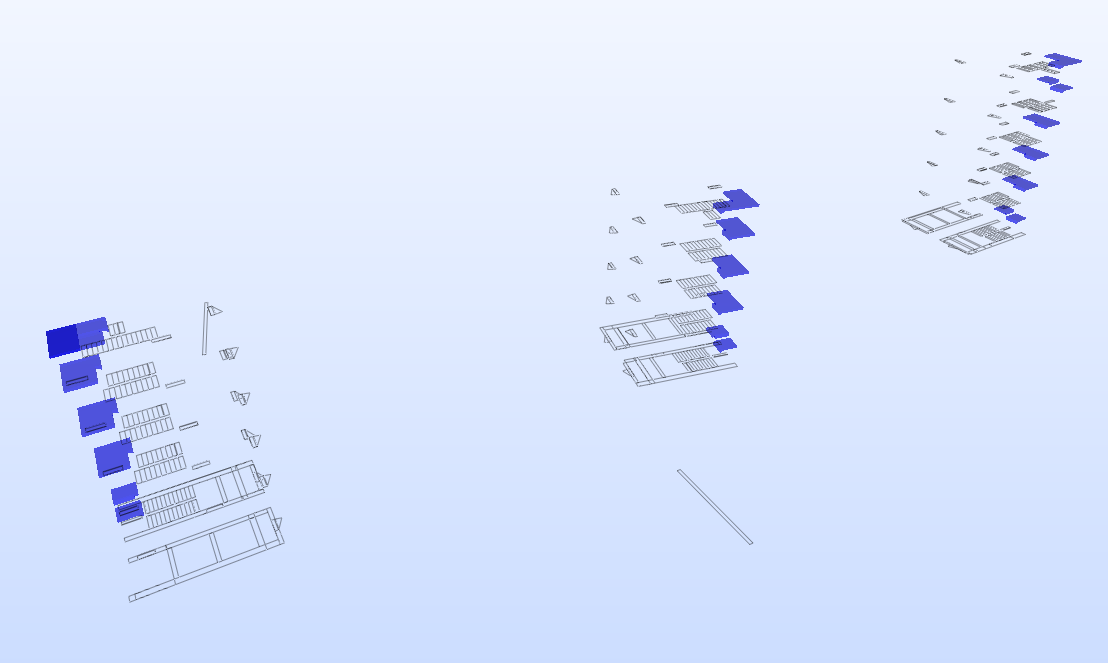
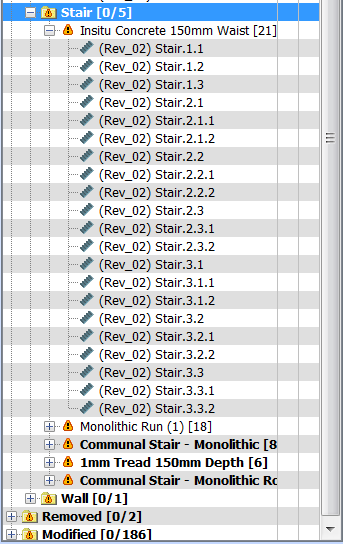
The architects have now added stairs in the latest model.
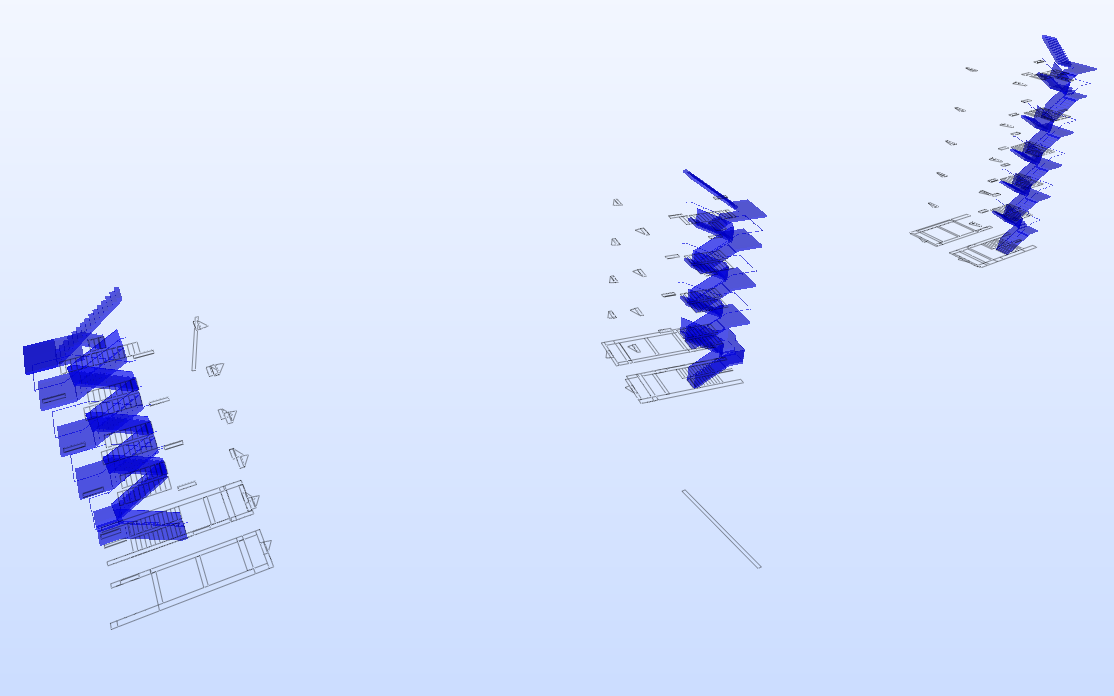
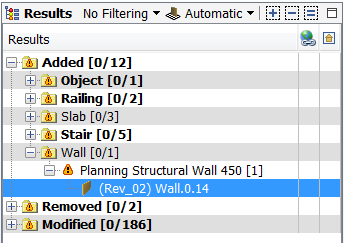
And also added a wall
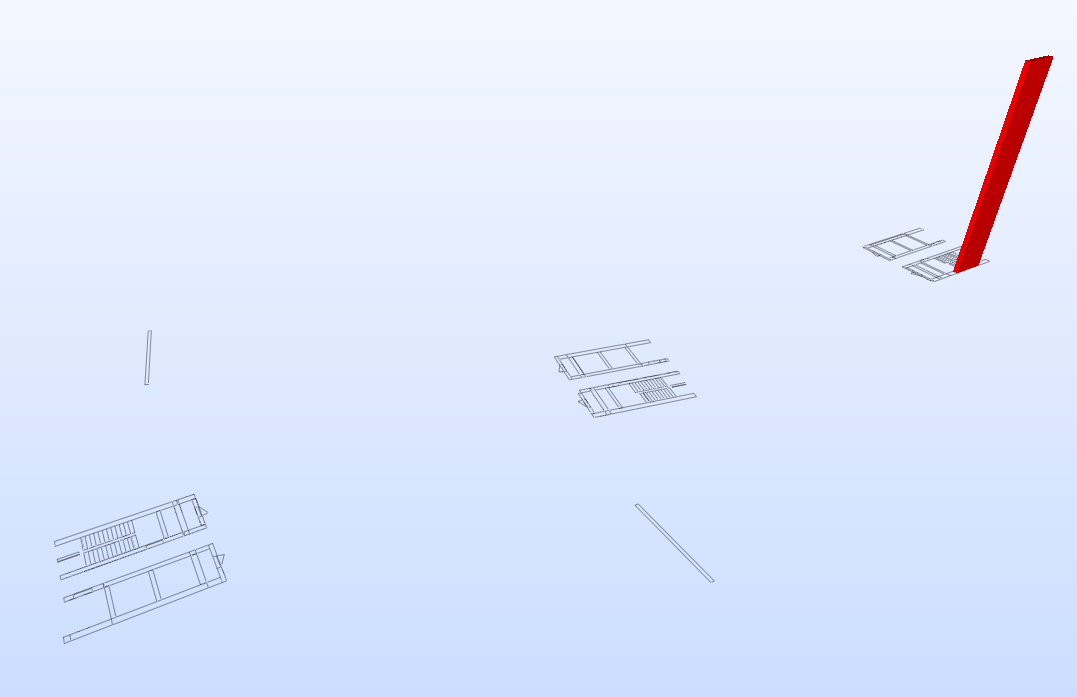
I ignore what are the elements removed and jumped to “Modified” drop-down lists. We can clearly see that the door openings have been raised. “Red” is the old position and “Blue” is the new position of the opening.
Continue checking the rest of the issues and once you are done, start creating the report.
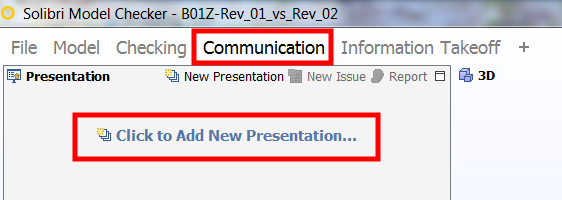
While the issue is selected under “Results”, jump to “Communication” tab where you will begin adding this view to your report.
Click “Click to Add New Presentation” icon. I’ll do this to make it easy to review all the critical issues.
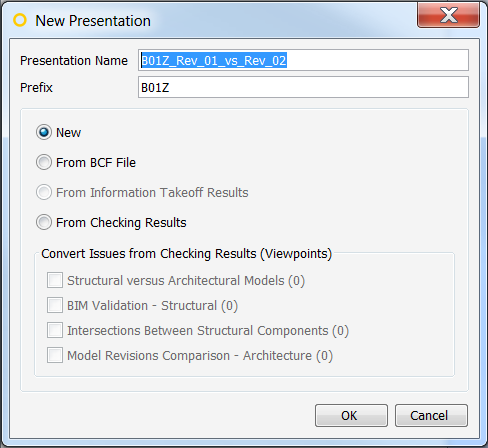
I’ll name my presentation as shown below and click “OK”.
Add a few details
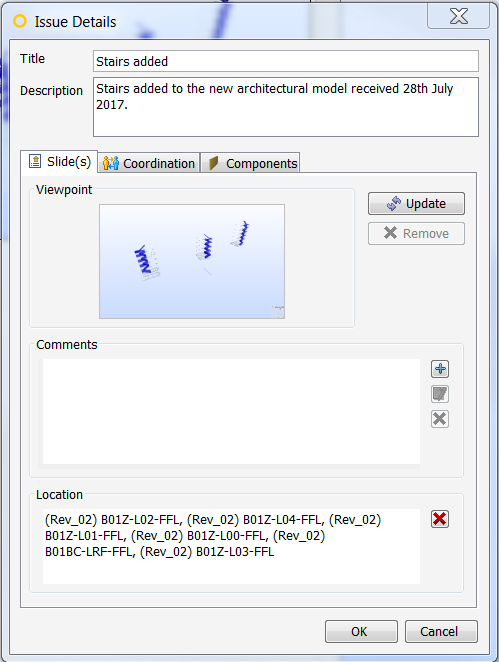
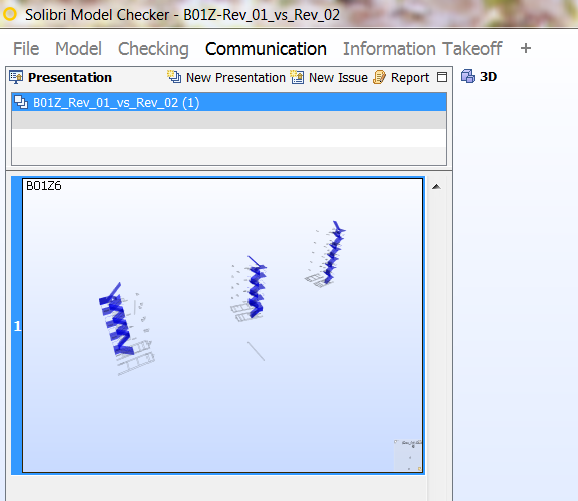
And I have now my first slide for my presentation.
I’ll continue adding issues that I think critical.
First, select the issue from the “Ruleset” result.
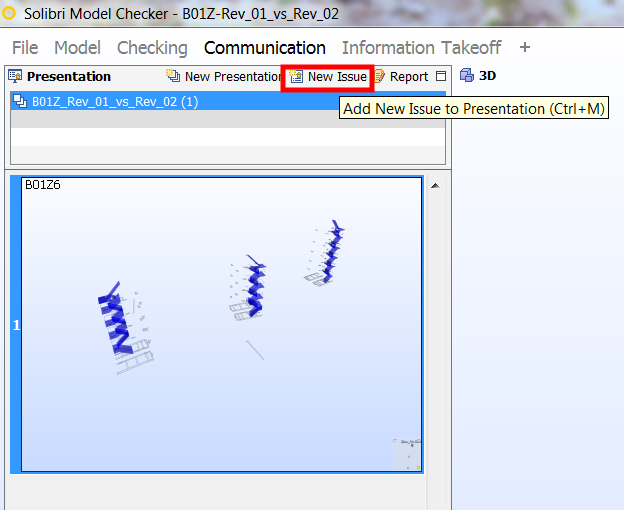
Then click the “New Issue” icon.
Provide details.
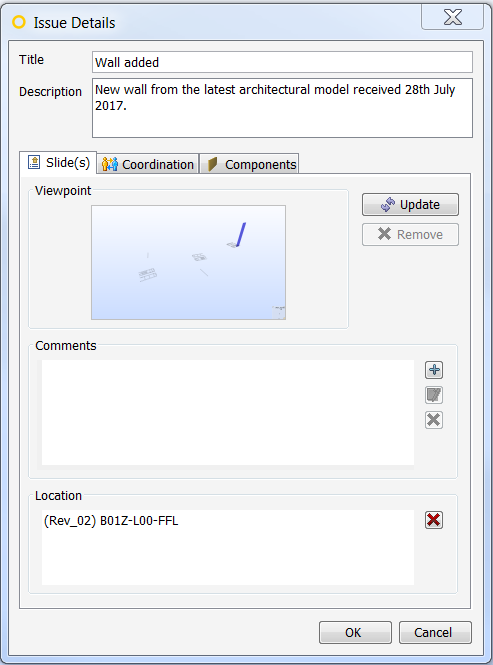
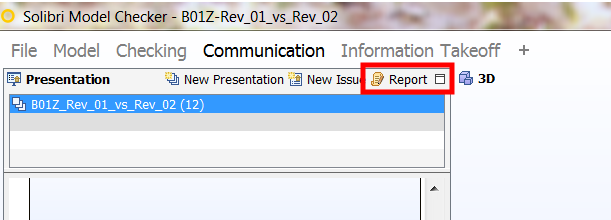
And it will be added to my presentation. The number of slides will be seen inside the bracket () at the end of your presentation file name. In this exercise, I have 12 slides. Once I am done adding the critical issues, it is time for me to create a report. Click on “Report” to generate the report.
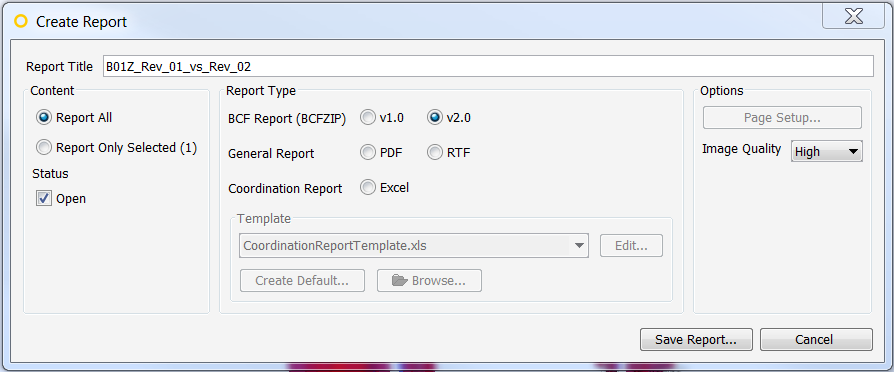
I’ll leave it to you to choose which file format you want your report to be created.
And that should be it. Next time I’ll talk about my experience using BIMcollab in handling BCF files.
Here is how the BIMcollab interface looks like taken from my previous project using BCF Manager Revit plugin.
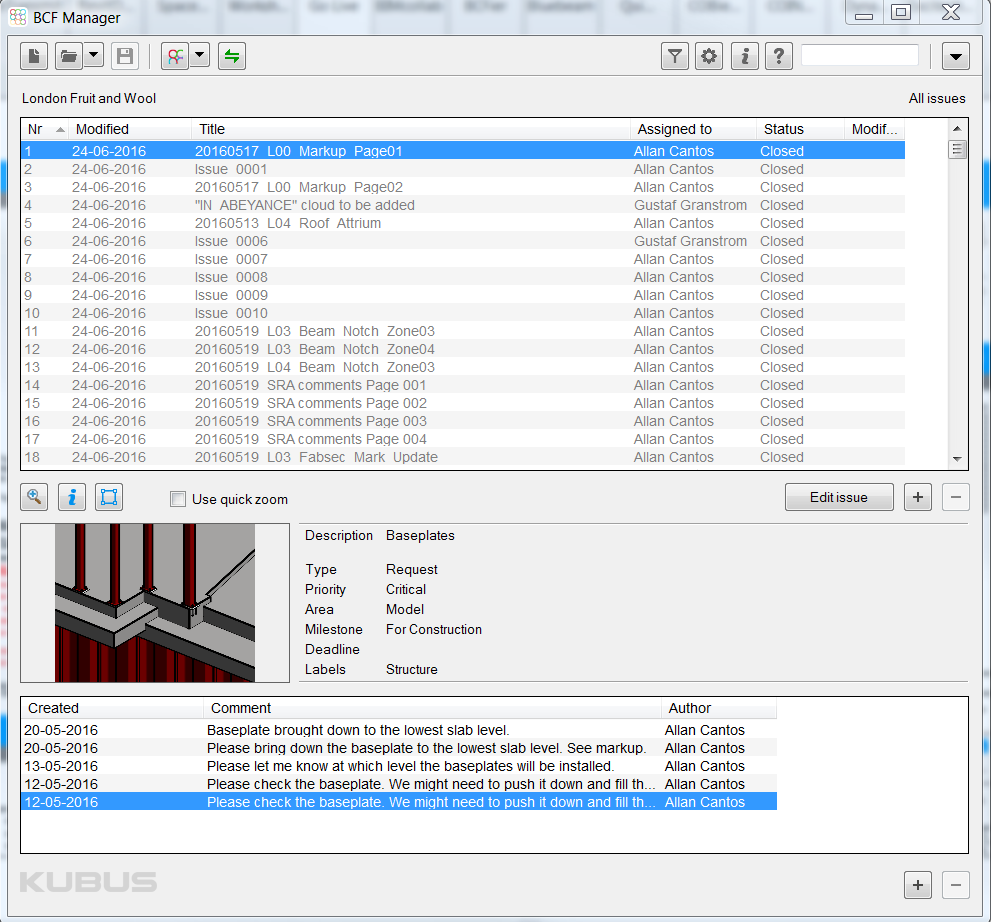
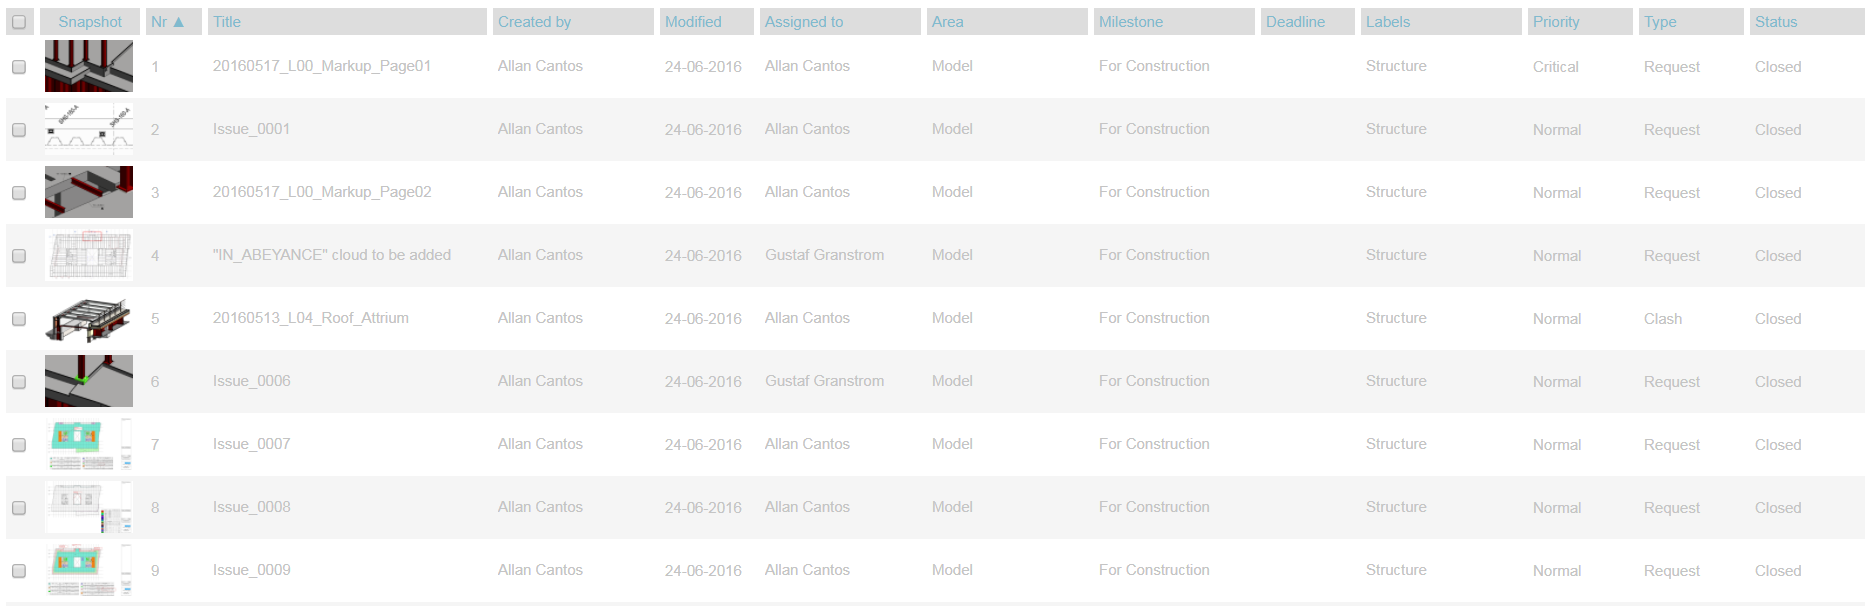
It is also accessible on the internet which means you can open it on your mobile devises or tablets for as long as you have an internet connection. Here is how the portion of it looks like.
Have a great day.
Cheers,
Allan Cantos