Hello there, Allan Cantos here. I hope you are all well.
As a pre-requisite to this tutorial, I assumed you already have built your Power BI Dashboard that you would like to link to your BIM 360 Project Home Dashboard. If not yet, I would advise you to build one first then come back to this tutorial.
Alright, let’s get started.
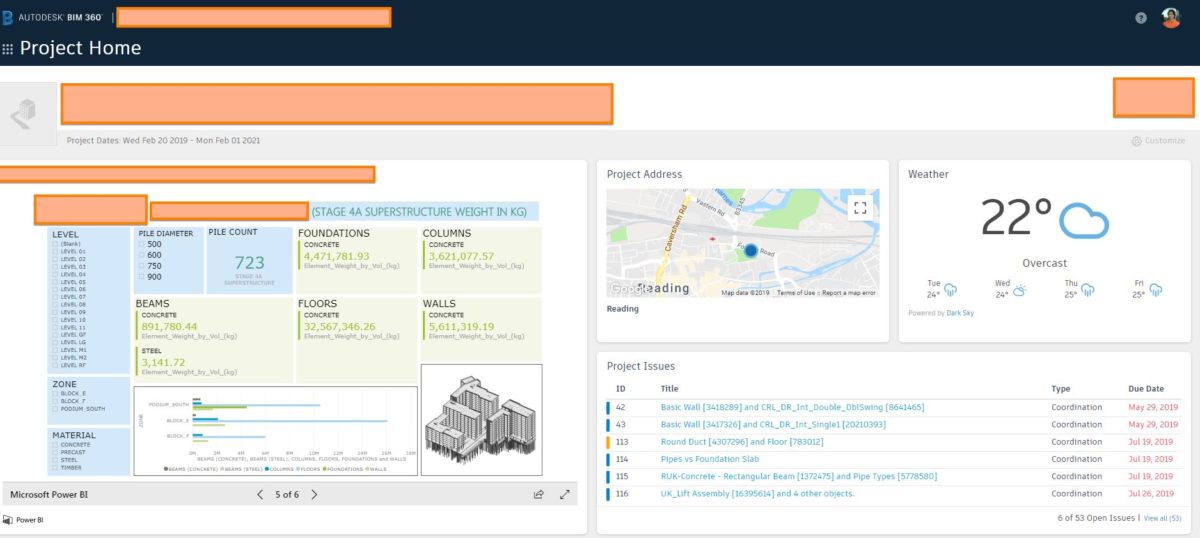
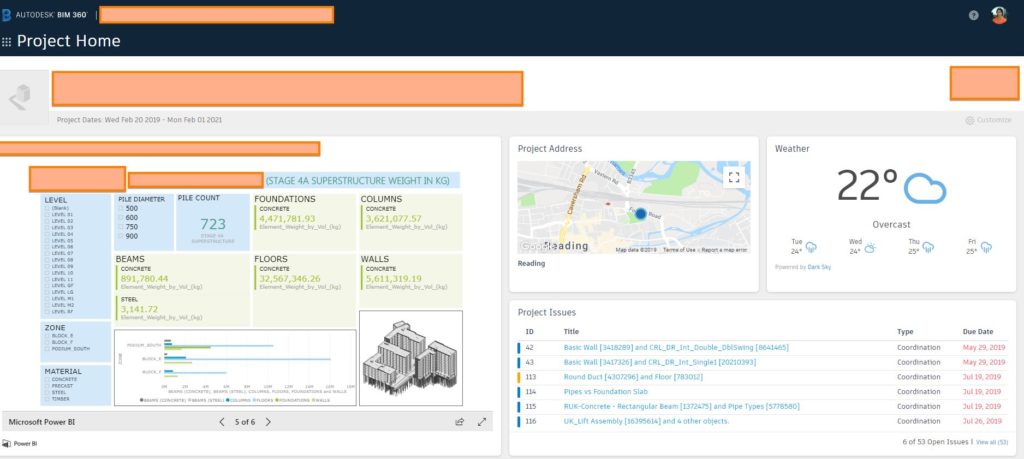
Here is what we are trying to achieve:
Before you can do modifications to the “Project Home” page, you must have as admin rights.
You can access the “Project Admin” page by clicking the “9-dots” located at the upper left-hand corner (just below the Autodesk BIM 360 logo).
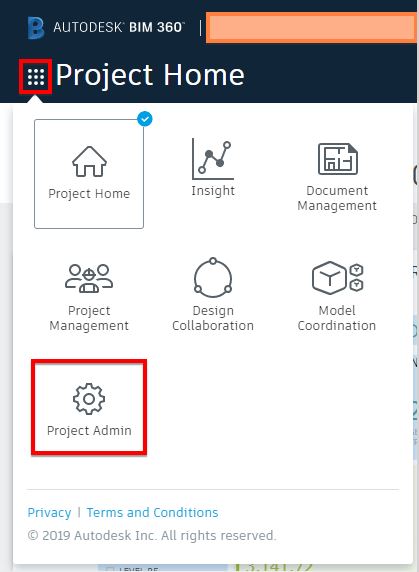
And, once again, before you can modify the “Project Home” page, you must have a “Project Admin” rights.

Now, go back to the “Project Home” page and click the “Customize” setting icon that you’ll find at the upper right-hand side of your dashboard.

An now you are ready to add a new visualisation card. Click on Card Library.

And from the “Card Library”, scroll down until you find the “Power BI”.
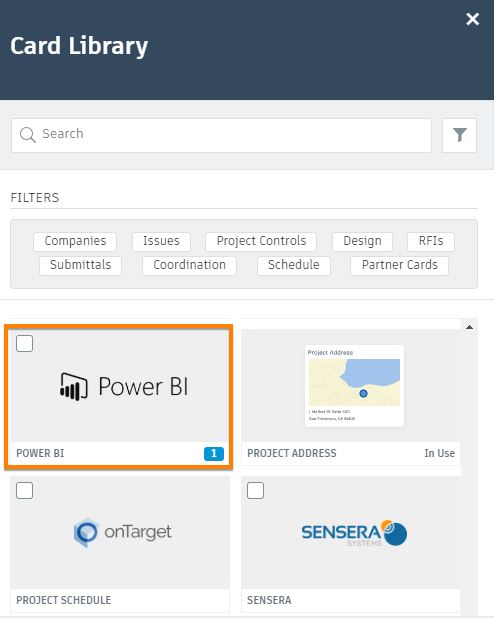
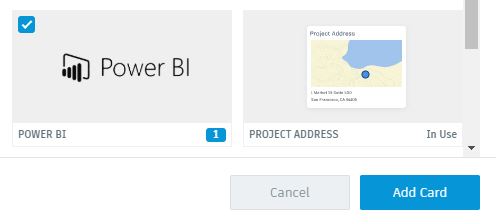
Select it and then click “Add Card”.
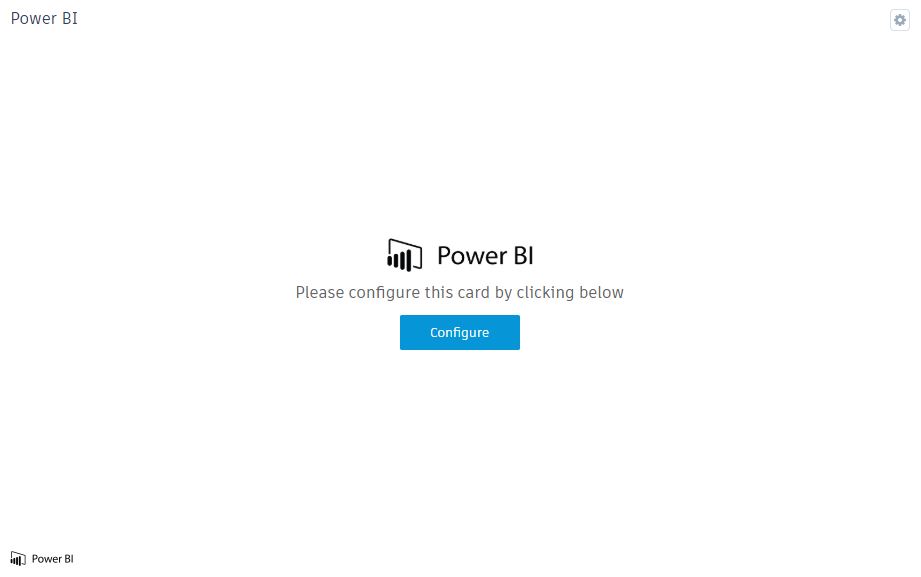
Click “Configure”
Next, log in to your Power BI account on your Chrome browser and open the Power BI report.
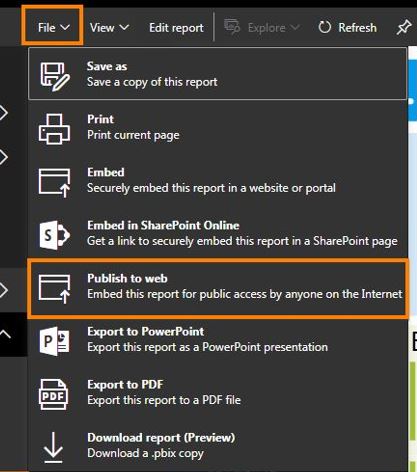
After that, select “File” and from the drop-down list, select “Publish to web”.
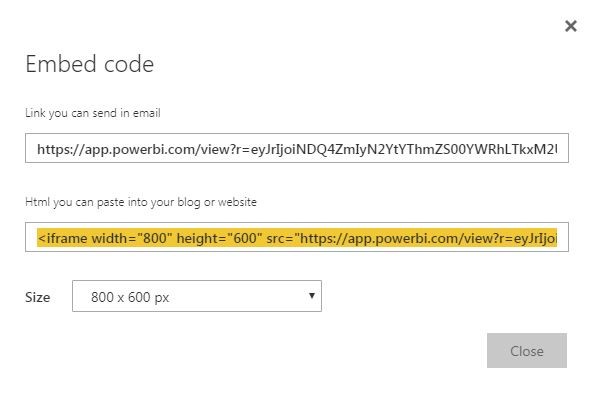
And this will give you the “Embed code”. Select the link highlighted in yellow below and hit CTRL-C to copy.
Go back to your BIM 360
Give your Power BI “Card Title” a name then paste (CTRL-V) the link copied from the previous step to “Partner URL”. Make sure to delete the texts before https and the texts about frame border at the end of the pasted URL.
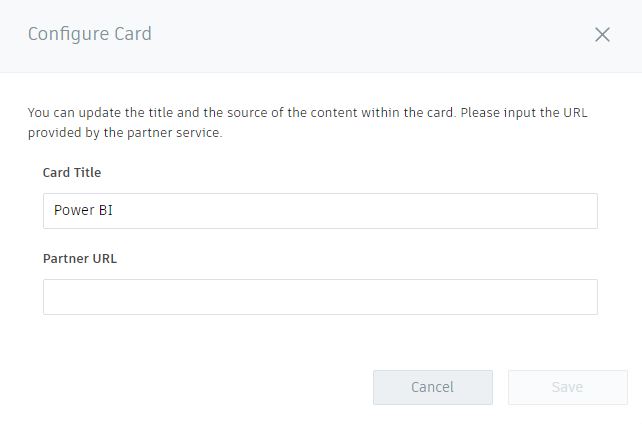


Click the “Save” button and you’ll now be able to see your Power BI dashboard from you BIM 360 Project Home page.
I hope you find this tutorial helpful. If you have any questions, please let me know by leaving your comments.
Have a great day!
Cheers!

