And he made it! Congratulations our son!
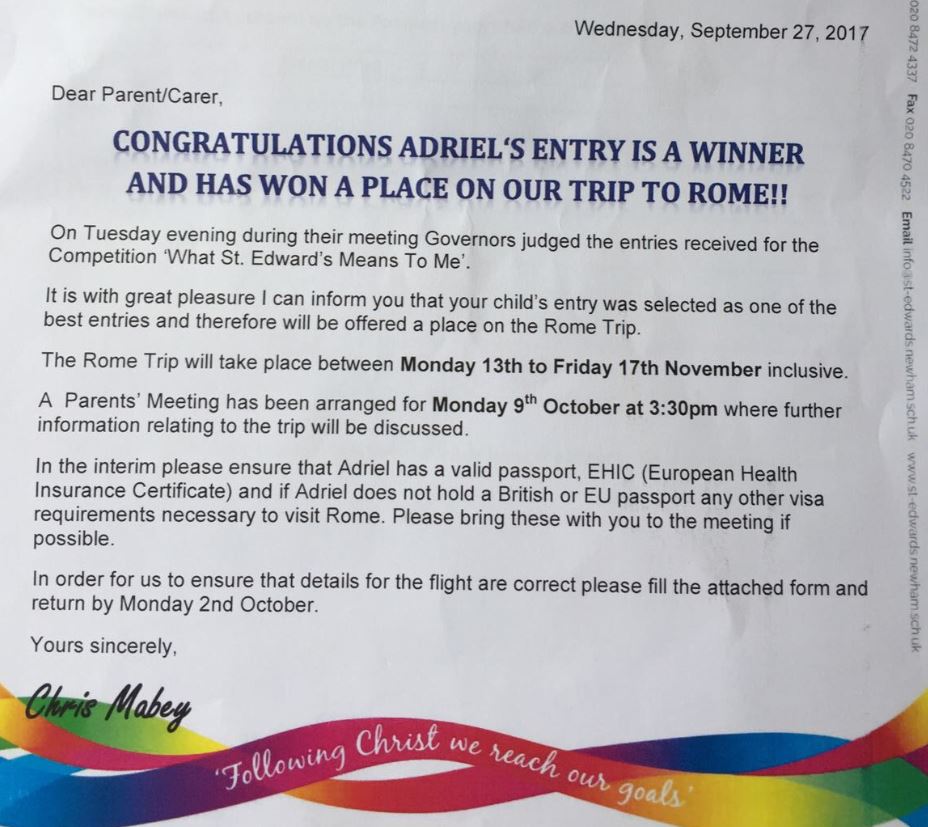
God bless you!
Lots of love and prayers,
Mum, Dad & Your Brother Ajel Liam
And he made it! Congratulations our son!
God bless you!
Lots of love and prayers,
Mum, Dad & Your Brother Ajel Liam
Good luck to my son Adriel Lance for your Year 5 entry for the St Edward’s Catholic Primary School Vatican visit this school year. May God bless you!
https://youtu.be/PWiV61Z4xow
Hello there. I trust you are having a great day.
Today I’ll talk about 3rd party image hosting. When I started building my Power BI dashboard, it looks cool to have images attached. The 3rd party image hosting website I’m talking about is “Photobucket”.

Please continue reading from here for more info: http://blog.photobucket.com/please-review-latest-changes-photobucket/
My Power BI dashboard really works well-having images on it that links interactively with your data until one time I received an email from “Photobucket” informing me that “third party hosting isn’t allowed” anymore on free accounts, you must pay $400 annual subscription in order for your image URL links to work. I just realized the effect of this when I opened my Power BI file to update the information on my dashboard.
Here is my previous Power BI dashboard I built last month.

Here it is now after 3rd party hosting is removed.

As you can see from the above image, my image URL link is now broken. To make it work, I need to find a place to store my images wherein it can provide me with a URL link. What I’ll do sometime next week is to remove all my images on Photobucket and since I do not have any intention to pay $400 annual subscription fee, I will also close my account.
As a replacement to “Photobucket”, I found a site called “ImgZeit”. Here is the welcome page when you visit the website https://imgzeit.com/

I hope ImgZeit will give me free subscription by mentioning their site in this article, finger crossed (“,).
I only have 40 images stored on “Photobucket” as of this moment and therefore it does not cost me much of a headache. I imagine how infuriated those who have been using this website to store their images for their blogs that have been running for 2 years, 3 years or some maybe even more than 5 years.
I’m not in a rush to look for a free website to host my images. Anyone is free to recommend one if you know of any by leaving your comment below. Your feedback is highly appreciated. Thanks in advance.
Have a great day ahead.
Cheers.
Allan Cantos