Hi there, Allan Cantos here. I hope you are having a great day.
Today, I share to you about this Microsoft PowerPoint cool features that I just noticed recently.
While looking for video capturing software for my colleague in the office (because I can’t use my personal licensed Screencast-O-matic video recording software on the company laptop), someone told me that you can use Powerpoint. I thought you can use Microsoft PowerPoint to insert videos only to your slides but I was wrong. This will be your “Video Screen Recording” software alternative.
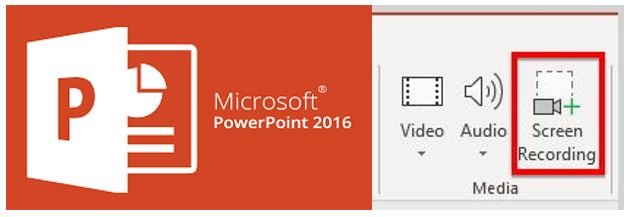
On the new 2016 Microsoft Powerpoint, you’ll notice a new addition to the “Media” ribbon tab under the “Insert” menu. Yes, you’re right! You’ll find the “Screen Recording” button that has been added. Out of curiosity, I ran a test.
This is a really cool feature that Microsoft Powerpoint offers. You don’t need to purchase video capturing software anymore. What Powerpoint allows you to do now is record your screen outside the PowerPoint and import that recording to your slides automatically. Not only that, you can use this feature to record your screen to record something and have it exported as a separate media file.
So, from the “Insert” menu and under the”Media” ribbon tab, select the “Screen Recording” icon.

You will be prompted to select the extent of the area you want to capture.
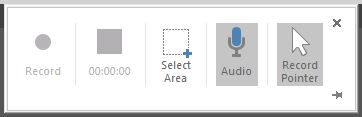
It greys out your screen, then you can go ahead and select an area you want to capture. It pretty much acts as the other video recording software.

You also have an option to include audio and your pointer. Once you are ready, hit that “Record” button and start recording your video after the 3 seconds delay grace period.
Once you’re done with recording, your video will automatically be added to your PowerPoint slide. But this cool feature does not stop from there. You can actually export your video as an independent media file, in MP4 format.
To do that, just “right-click” on the inserted video in your PowerPoint slide.
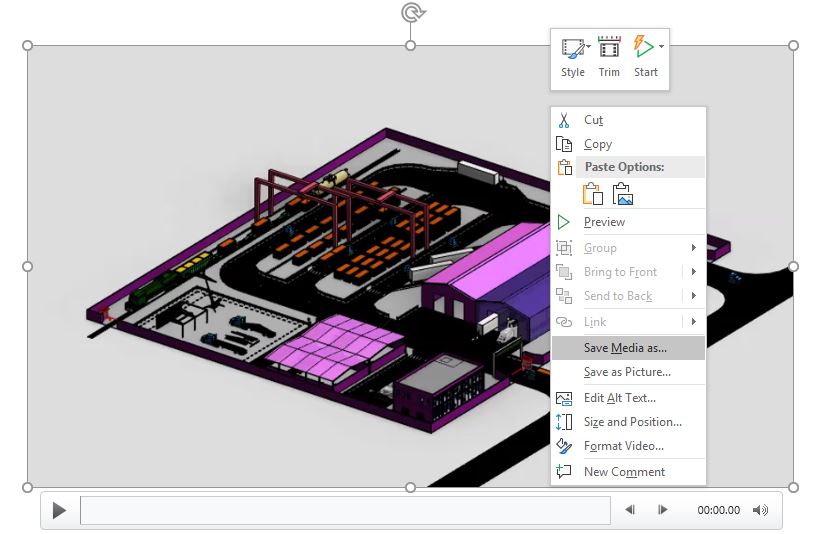
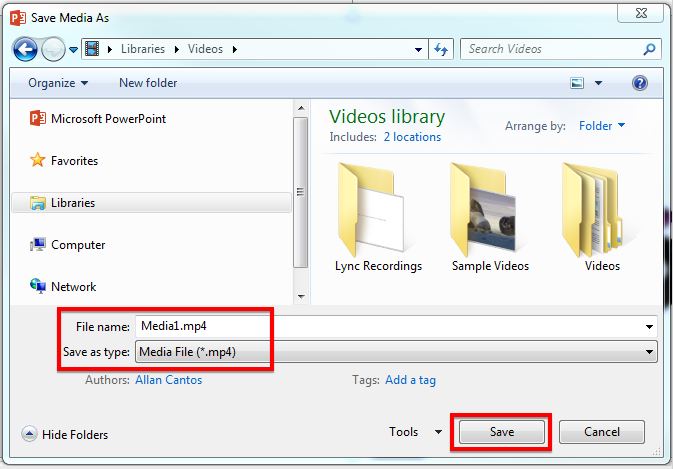
And select “Save Media as”. Then you will be prompted where would you like to save the file, then name your media file accordingly.
I hope you find this helpful.
Have a wonderful day.
Cheers!