Today I’ll talk about my Autodesk Go-Live experience from installation to uploading my Revit model.
For more information, please visit the Autodesk website at https://www.autodesk.com/products/revit-live/overview
Out of my curiosity, I decided to document the process of bringing my Revit model to Autodesk Go Live. So let’s begin.
I started by visiting the link I provided above and signed in using my Autodesk account. If you haven’t got one, you’re free to create one by clicking on the “Create Account” button.

Type in my username

Type in my password

And I can begin to download the 30 days free trial of Autodesk Revit Live by clicking on the “Begin Download” button.

Next is to read the terms and conditions that will pop up on the screen

I’m happy with all that is written, as if I have any other choice, tick the box required and click on “Continue”

The setup file is now downloading and once done, I’ll click on the downloaded file on the lower left-hand corner and select “Run” to start the installation.
You may need to ask your IT to have it installed on your machine if you do not have admin rights.


Just click “Yes”

Next is to click “Install” to begin the installation

Tick the “Accept” button after reading the “License and Services Agreement” and click “Next”. No other choice than to accept it anyway if I want it to be installed on my machine.

Since I have it installed already previously, I’ll cancel the installation. However, click on the “Install” button to continue with the installation process if you don’t have it installed yet on your machine.

Once the installation is finished, I can see a new plugin on my “Add-ins” menu options called “Revit Live” on my Revit panels tab.
Here is the Revit model I would like to upload on Autodesk Live.
Click on “Go Live” button under “Revit Live” panel.


Revit Go Live will try to list down any problem with the model, it will be listed here if I have some. I have to fix those problems first before moving on to the next step. In this example, I’ve got a “Visual Style” warning only and therefore I can carry on sending my structural model to Revit Go Live. Now click on “Save and Go”.

Good to see that is it working. Uploading begins…

The Revit Live service is preparing my model to be available to view in Revit Live.

The model is being sent back to me under .lvmd file extension

I received a confirmation email of what to do next once the file is downloaded on my machine.

Now I am ready to open my .lvmd file to “Autodesk Live Editor”.

This window will pop up, just click on the “x” button on the upper right-hand corner.

Autodesk Live Editor is now loading.

Now we are at the “Project Area” where all previous file you worked on will appear here. To open that .lvmd file, you can click on “Select file” or just drag and drop on the box I highlighted in “Red”.

Importing Step 1 of 2

Importing Step 2 of 2

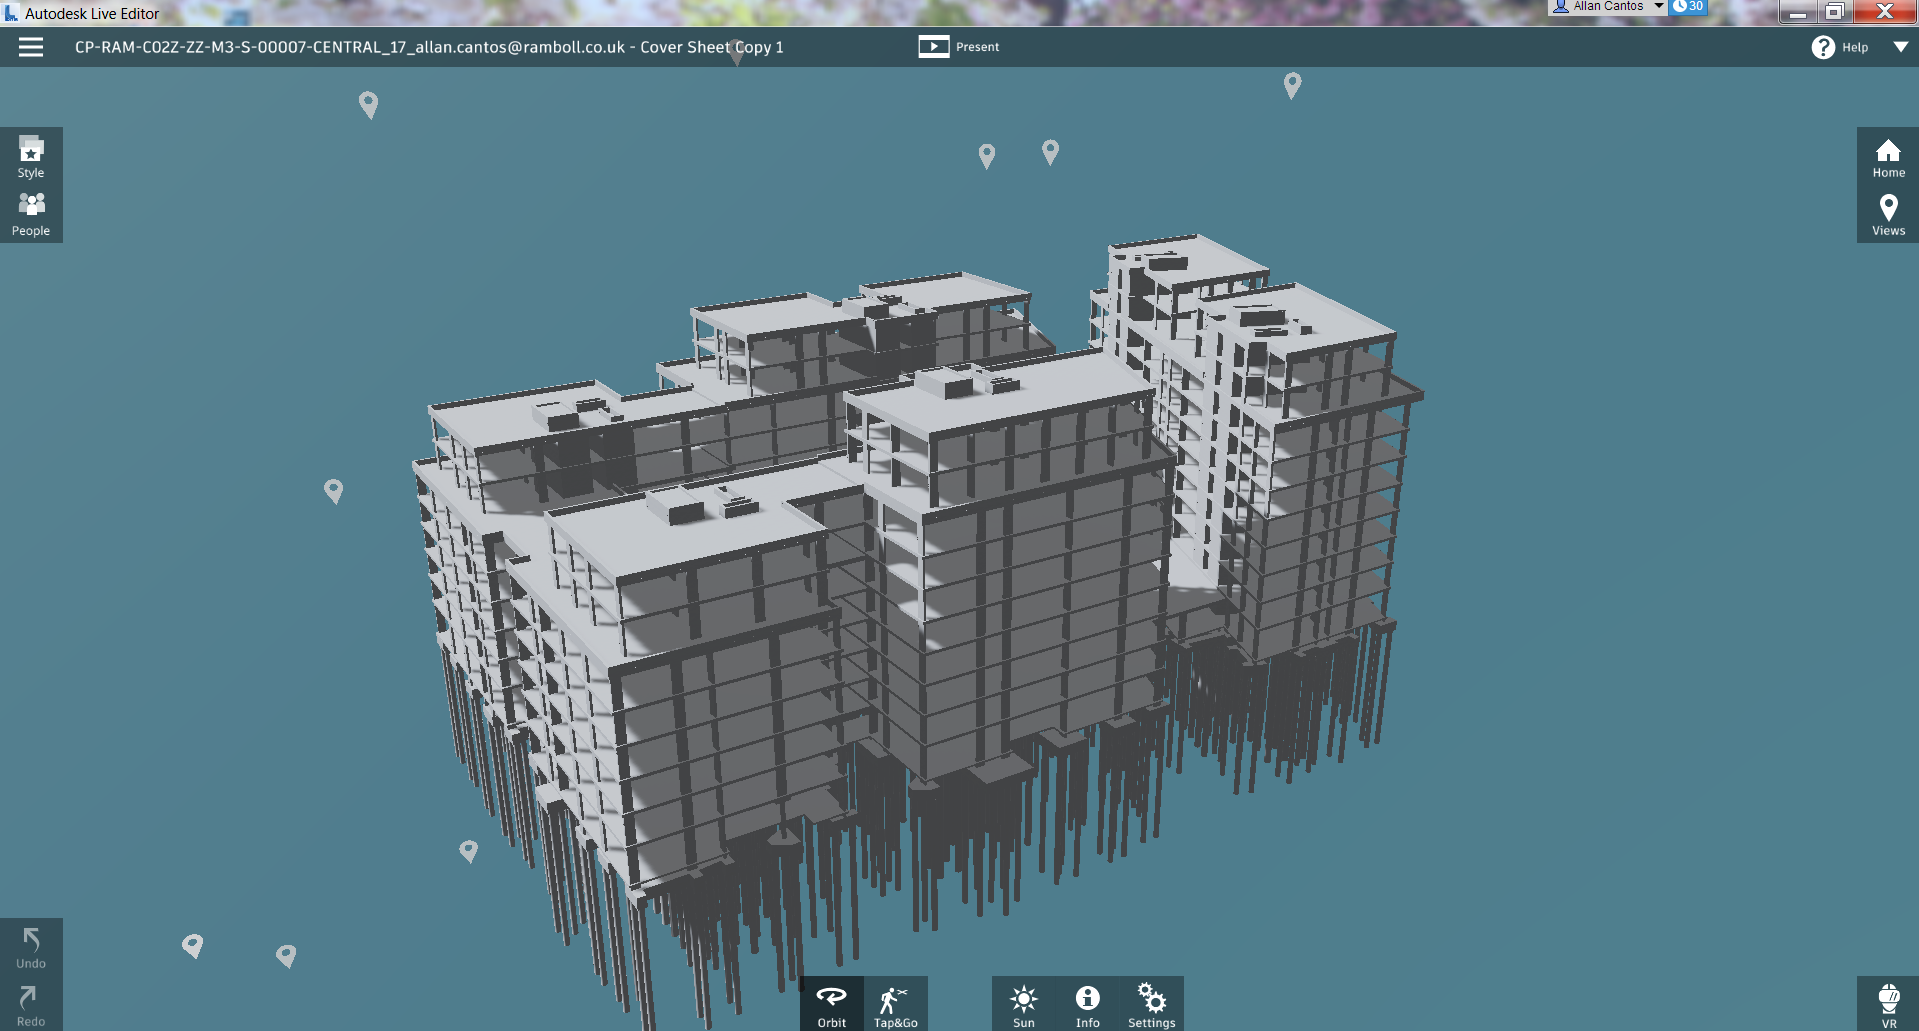
The file is now in Autodesk Live. Happy to see its working.

Video link for Autodesk Go Live test on my structural model:
And here is the link with Architectural model attached. I realized that architectural walls were missing from the Architectural Revit model, I made a wrong choice of sample model, nevertheless, I’m happy that it works.
Thanks for dropping by.
Cheers,
Allan Cantos
